Введение

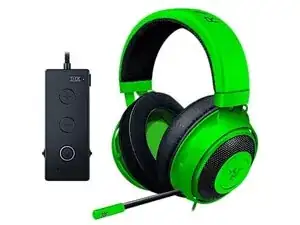
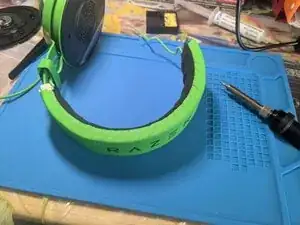
Replacement of the leatherette headband of the Razer Kraken headset, probably due to wear and tear.

Applies to all Razer Kraken headphones from 2019 onward since the steps are nearly identical.

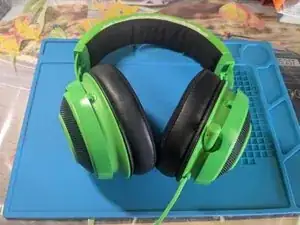
In this guide I repaired my Razer Kraken Tournament Edition headphones.

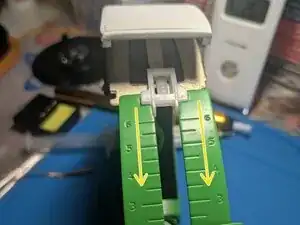
Throughout the procedure, it is recommended to fully extend the adjustable rods of the pavilions. This will facilitate operations.

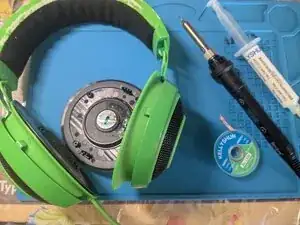
A small soldering step is required. Stand on a suitable surface, wear goggles and a face mask if there is insufficient aeration.

  1. UNfIKLSlsSRGktn1
    UNfIKLSlsSRGktn1
    sKSYyKSAXXjVbPUH
    3ERc32qp1GCeWFVy
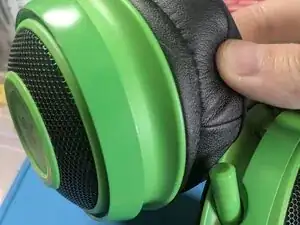
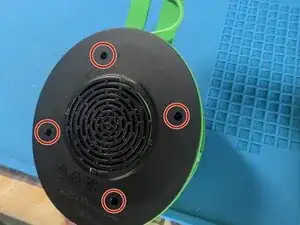
    • Remove the right ear pad.

    • Insert your index finger inside the crease between the cushion and the inner fabric and pull slightly outward.

    • Bring out the entire contour of the pad.

    • The pad may have lost elasticity, and pulling too hard could ruin the leatherette of the pad itself.

    • Removing the left pad is convenient for working but not mandatory.

  2. EygOnhyQLiuJ4vm4
    EygOnhyQLiuJ4vm4
    OtiK2JYkikOOCN5Q
    Y1pSU1oxahNFvAPK
    • Unscrew the four screws.

    • Gently lift the black cover.

    • Be careful not to tear the cables.

  3. l564HuvHnDH65ljU
    l564HuvHnDH65ljU
    DN5RCHXxsYwSRQDv
    • Remove the hot glue from the connectors.

    • Help yourself with the metal spudger and precision tweezers.

    • Remember how the wires are soldered.

  4. WIYwUmy6uH6GadVW
    WIYwUmy6uH6GadVW
    FMTDwlC2Co4Iupye
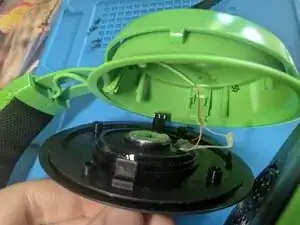
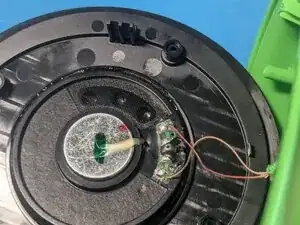
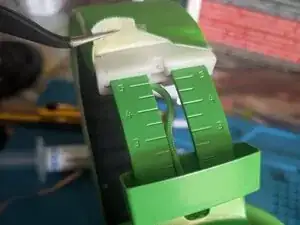
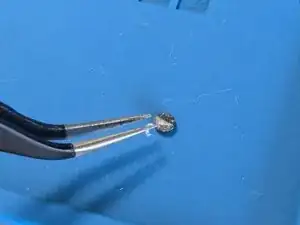
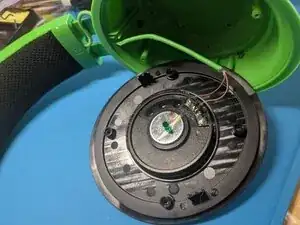
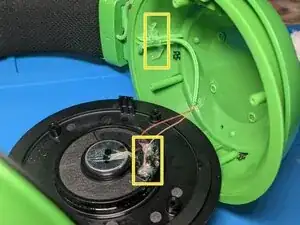
    • Desolder the two audio cables.

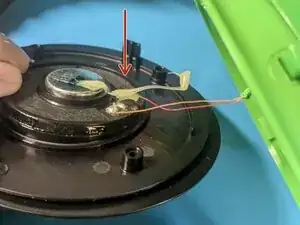
    • Put a few drops of flux over the tin of each solder.

    • Melt the tin with the soldering iron tip set at 320-350 degrees Celsius.

    • The tin should melt easily, freeing the cable.

    • Do not leave the tip of the soldering iron for more than 4-5 seconds continuously over the pad and do not raise the temperature too high, you may ruin the circuit board.

    • Clean the pitches.

    • Pass with the desoldering braid over the remaining tin, resting the soldering iron tip on top.

    • You can add a little more flux or use a tin remover pump.

  5. PSkvaP3sttPYZkMv
    PSkvaP3sttPYZkMv
    o2dL6MdyOYPe42Mb
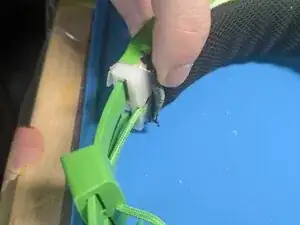
    • Remove the hot glue from the cable.

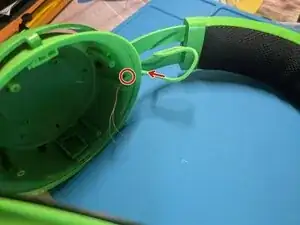
    • Pull the cable out of the earcup by running it through the hole.

  6. UMXyCLwYIXlVRHkw
    UMXyCLwYIXlVRHkw
    JmbCxqWW1VQprkIN
    RRaC3kWZTNlqHmed
    • Remove the rubber screw cover.

    • You can use the precision tweesers.

    • Unscrew the single screw.

    • Simply pull down the metal cover.

    • Be careful passing the cable through the metal.

  7. ZaOZFuCUVVoP3BSZ
    ZaOZFuCUVVoP3BSZ
    JMqKVs4ZgNBDSSsi
    • Gently pull the leatherette edge up a centimeter.

    • Remove the tape.

    • Repeat steps 6 and 7 in the left earcup as well.

  8. TPpBW6F1CmQH4dtC
    TPpBW6F1CmQH4dtC
    F5lAHDyZKFcqVV2M
    Q3jw1UmidRg3hWdE
    • Unscrew the single screw.

    • Free the cable.

    • Push in one end of the plastic clip to pop it open.

    • Use an opening tool for help.

  9. SRTR1d6ejSxHXYBb
    SRTR1d6ejSxHXYBb
    FSObvx1K5A46X1F3
    cMofpigHNYvAvTcQ
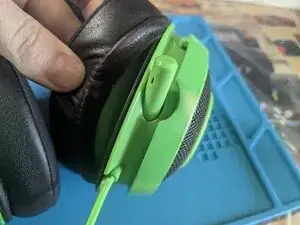
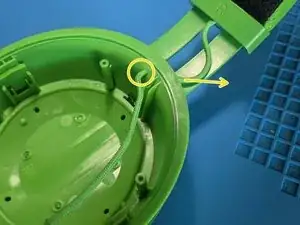
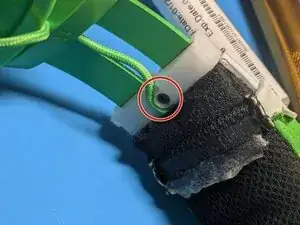
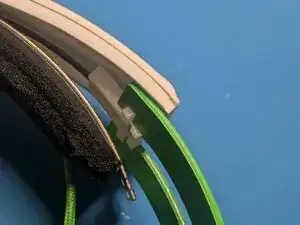
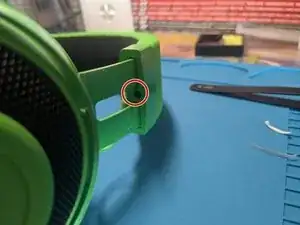
    • Free the cable by passing it through the hole in the metal cover.

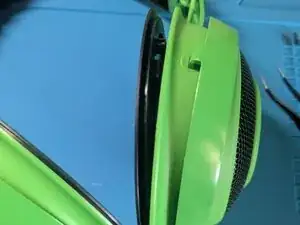
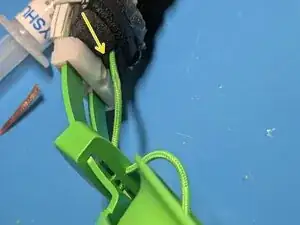
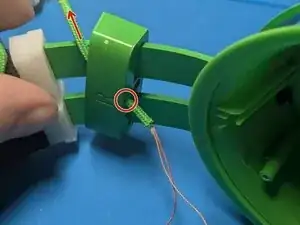
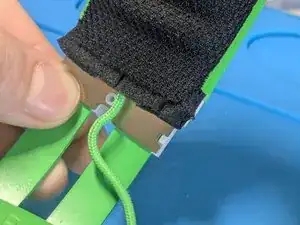
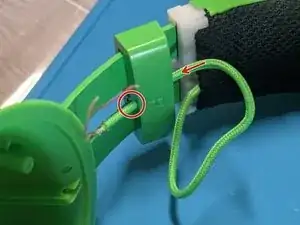
    • Slightly separate the upper cushion from the metal headband.

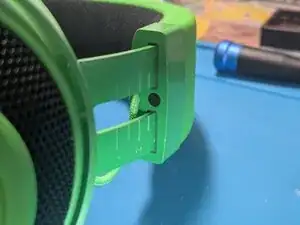
    • Simply pull down on the right earcup; the adjustable rod should come out of the metal rail naturally, freeing it completely from the rest of the headset.

  10. XtNkAcVSPNaCFAYD
    XtNkAcVSPNaCFAYD
    J5ryybmmsPmlDfnU
    • Slowly pull and push the headband toward the right side so that it comes out.

  11. QMLRTVLhsOiHm21T
    • We know you are going to need it.

  12. ASAGcrphDWfTniXa
    ASAGcrphDWfTniXa
    StjQiOShbCBFWRx4
    Jak4k6ay5Bbyn4Ug
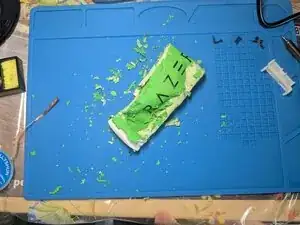
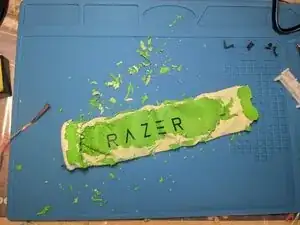
    • Very slowly and with much patience, start pulling the new leatherette around the metal bow and cushions starting from the right side.

    • Looking at the headset from above, placing the left side to the left and the right side to the right, the Razer lettering will line up straight.

    • Halfway through the process, you will also be forced to push from the right side and pull from the left. Always in small movements.

  13. 2l4sbqXD4QFPDrSW
    2l4sbqXD4QFPDrSW
    NwIPw33GnJRP5dxr
    • If necessary, pull up a bit the new leatherette in the right side.

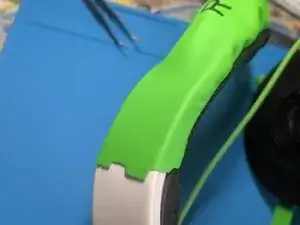
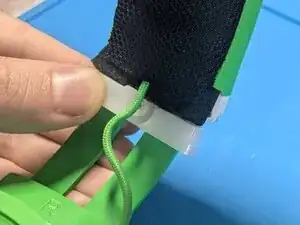
    • Gently separate the upper cushion from the metal headband.

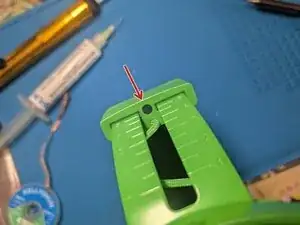
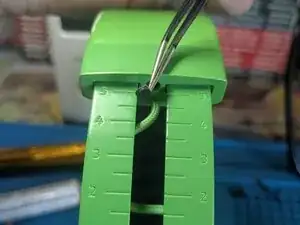
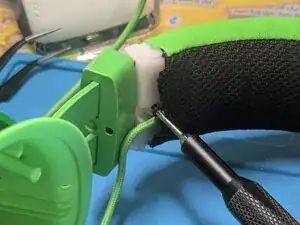
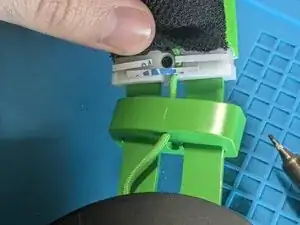
    • Insert back the adjustable rod in the metal rail.

  14. fe4VSL3mxpHg6P5B
    fe4VSL3mxpHg6P5B
    ySxMbnHRXIjIubKQ
    iafXoBcTm6fD1cQV
    • Follow the images to place back the plastic clip.

  15. GPAJ6QcyLMGo4OJF
    GPAJ6QcyLMGo4OJF
    nBr1KGUoeV6OLuha
    iOWetUQ3OIijMjTx
    • Close the clip.

    • Screw the single screw.

    • The cable must be outside the clip.

    • Pass the cable through the metal cover.

  16. qpf3s2XGDSxclwaK
    qpf3s2XGDSxclwaK
    4Fo3qsmSruDRLhZY
    GSpGxvqeNQEtFyHc
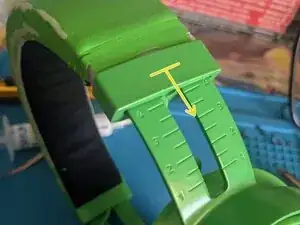
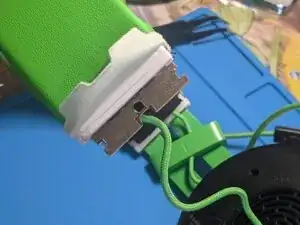
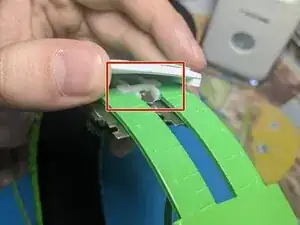
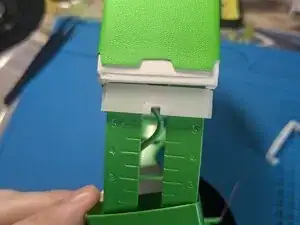
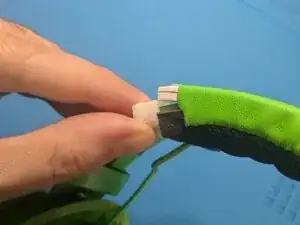
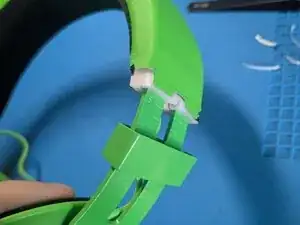
    • Apply new tape in the front and the back of the plastic clip (not the sides).

    • Make sure the cable is placed properly along its plastic guide.

    • Make sure the cable is passing through the metal cover.

    • Make sure the leatherette is tightly stretched and well placed.

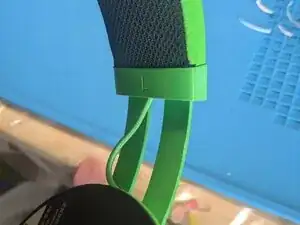
    • Stick the new leatherette to the new tape.

  17. Z2FtBGZuUnEiW3jL
    Z2FtBGZuUnEiW3jL
    MOMP6btBVSXExBb1
    MvNEBJNVTD4QYedk
    • Pull up the metal cover.

    • Beware of rolling out the leatherette, which may crease.

    • Screw the single screw.

    • You can remove the old glue from the rubber cover and apply double-sided tape to use the same rubber cover on the screw.

  18. iPEKOYt56jyHbiWr
    • Apply the steps 17 and 18 on both ear cups.

  19. 5OVhNYgj3XFQ1kwv
    5OVhNYgj3XFQ1kwv
    jHxuXtFVxtiuTVaS
    14oXwn32IbfwR6v2
    • Pass the cable through the ear cup hole.

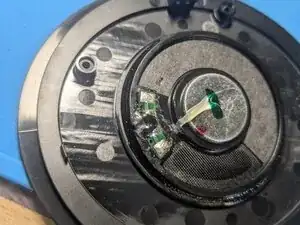
    • Solder back the audio driver.

    • Put a drop of tin on the tip of each cable and on each pad.

    • Dissolve the two tin drops together (cable-pad).

    • Make sure you are not shorting and that you have connected the wires in the original order.

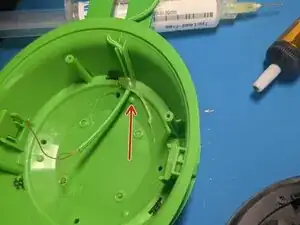
    • Put some hot glue to reinforce the welds and prevent the cable from tearing.

  20. gdrytqosHRsUdbGX
    gdrytqosHRsUdbGX
    XZB3VKQ2t6ioYXFL
    iCxeFgtrgLXR2QLm
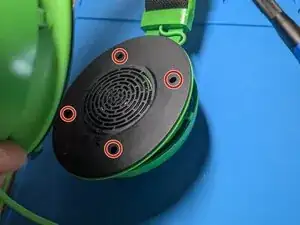
    • Close the ear cup and screw the four screws.

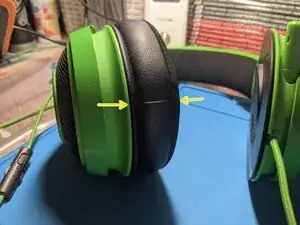
    • Slowly put back the ear pad(s).

    • Insert the outline of the pad starting from the side and push slightly toward the other directions to stretch the cushion a bit.
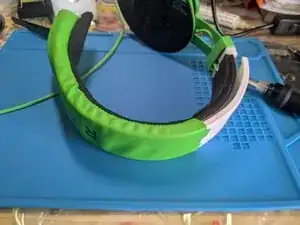
    • The seam of the cushion is facing downward.

Заключение

Enjoy!

Emanuele Artusi

Участник c: 23/10/24

464 Репутация

0 комментариев