Введение

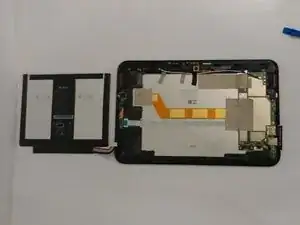
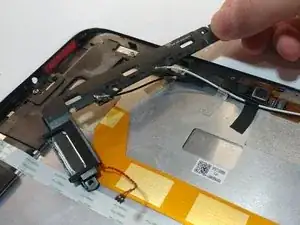
This guide is designed to provide you with simple steps to remove and replace the Verizon Ellipsis 10 Motherboard.

  1. WGZWmDKKfaCElc2H
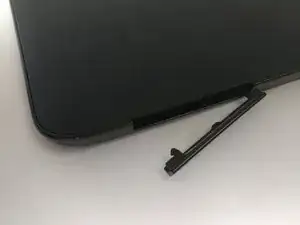
    • Open the SD/SIM card cover to start prying off the back cover.

    Can I rig up a tool this was gave to me

    Luckily SD card still in tac I let a friend use it for Netflix it was plugged in all nite while watching it could that be the reason it won't come on

    ribinstick48 -

  2. cUJdUUdCeyMtXgjW
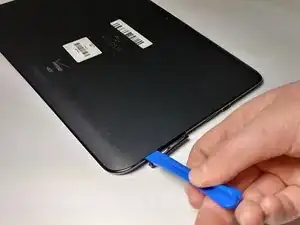
    • Start using the iFixit Opening Tool in the SD/SIM area to release the clips holding the back panel on.

  3. KToPAvMyEg6DM1kJ
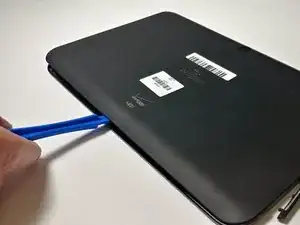
    • Follow along the edge of the device to undo all of the retaining clips.

  4. UqwUJ1cTFCZAhPHk
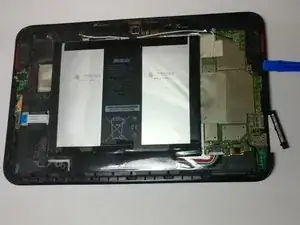
    • Once all the clips are undone, the back panel should come off with little effort.

  5. KQiJqCqcI1PRYyn1
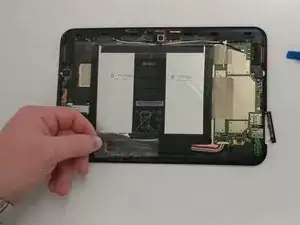
    • Remove the bottom piece of tape securing the battery making sure you are not peeling up anything else in the process.

  6. xjNtI4yByBCAbghO
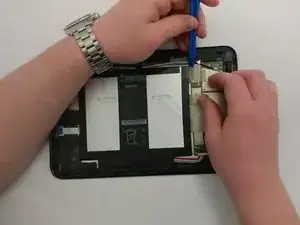
    • Remove the top piece of tape using an iFixit opening tool.

  7. qyKvR3BesARrUDYx
    • Once you have a hold on the tape, carefully remove it making sure you aren’t damaging the battery in the process.

  8. sJhWYFn4J6ACbZsR
    • Unplug the battery power connector by sliding the white plastic plug down away from the board.

  9. Vk6FJcR1jAMC2lbR
    • The battery should be free to come out of the device. Make sure not to bend or damage the battery.

  10. GvSgCKxWXMq2HWSc
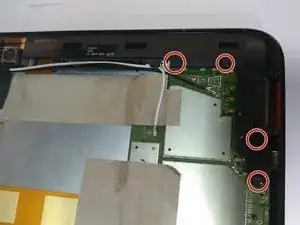
    • Remove 4 M1.5 screws holding in the labeled LTE module.

  11. sLpi6JsxiLdJ2PkX
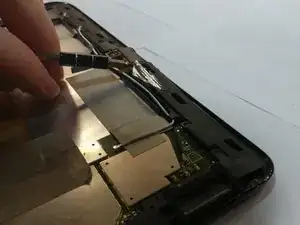
    • Use a nylon spudger to pry up the module.

    • It's held in with some clips so there will be a little bit of resistance.

  12. RASBEUp3YiADSTtB
    RASBEUp3YiADSTtB
    EAaRQdILBZcNNK14
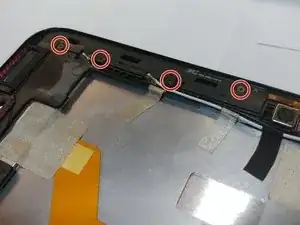
    • Remove the 4 M1.5 screws holding in the labeled auxiliary LTE/GPS module.

    • The module should come up with a little resistance.

  13. ccPbAI2tZSFmHYTL
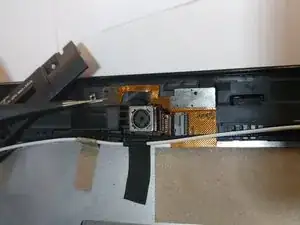
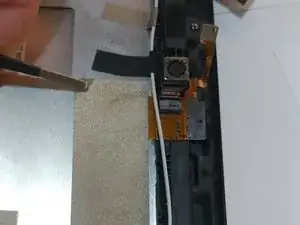
    • Use a pair of tweezers to lift up the front camera off its locating post.

  14. ivQ3DUBnlOjMhlYv
    ivQ3DUBnlOjMhlYv
    bYwMJJZVfr2dh2xJ
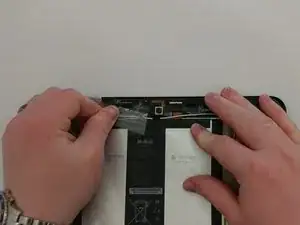
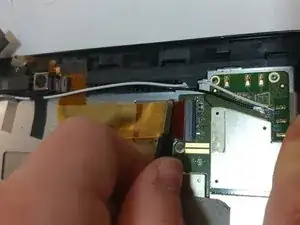
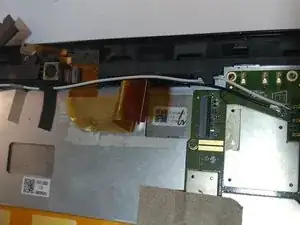
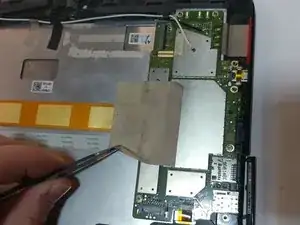
    • Remove the non-conductive tape covering the camera ribbon cable.

    • You may need to remove the white antenna cable to remove the tape.

  15. LlaGxOheoVbFwdFX
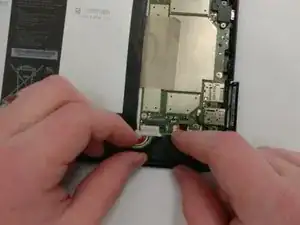
    • Carefully unplug the ribbon cable from the motherboard.

  16. AuLMfc2jPYqSAFAG
    AuLMfc2jPYqSAFAG
    fArkn2SNmhv2V5HA
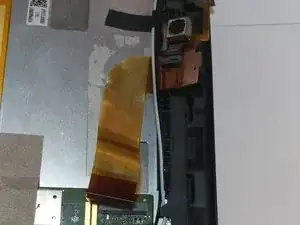
    • Peel up the ribbon cable carefully as it is glued to the device.

    • After having peeled up the cable, the cameras should be free to come out of the device.

  17. lYOnNC414CMSEoVD
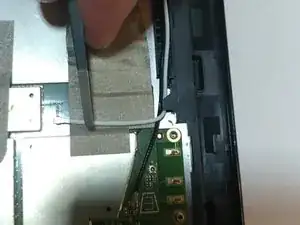
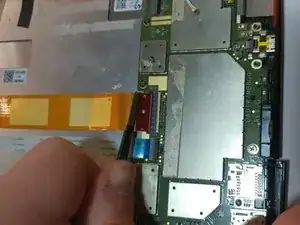
    • Remove the non-conductive tape covering two ribbon cables.

  18. Lmqyv4YRNBSwSCkP
    • Gently unplug both the orange and white ribbon cables.

  19. u5CRttBaQiXcHMPT
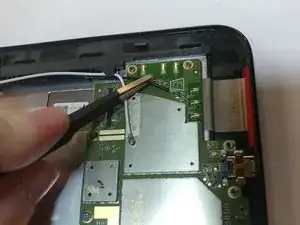
    • Use tweezers to pry/disconnect both the black and white antenna cables from the top of the motherboard.

  20. AxGBILlBBfVMkwLa
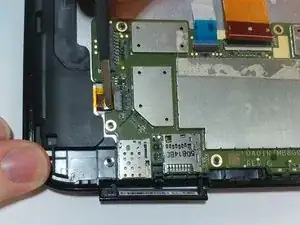
    • Unplug the last ribbon cable from the bottom of the motherboard.

  21. sB4u3EyZaWOmHTWA
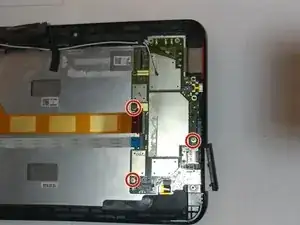
    • Remove all M1.5 screws holding in the motherboard.

  22. VEoyIAVG2VO6yH4l
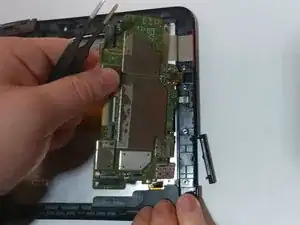
    • Once all screws are removed, the motherboard should easily come off the device without any resistance.

Заключение

To reassemble your device, follow these instructions in reverse order.

Marco Bellutta

Участник c: 05/04/19

253 Репутация

Один комментарий

my Verizon se apaga cuando subo el volumen,que sera?
Gabriela Monti -