Введение

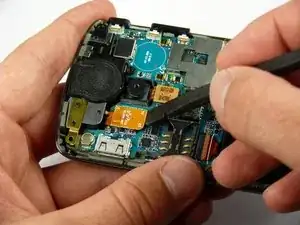
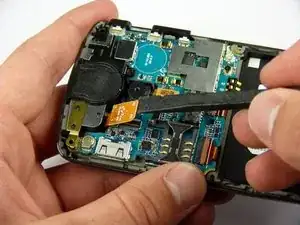
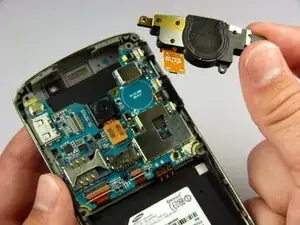
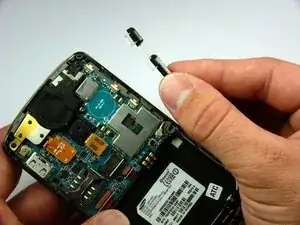
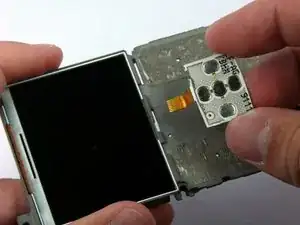
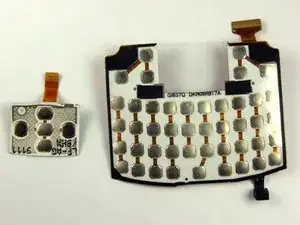
Use this guide to remove the old keyboard and install a new one.

  1. wBK6tLWAubWwCS3w
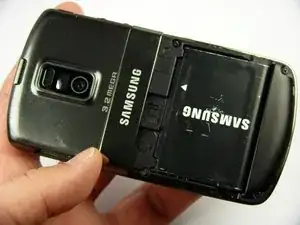
    • Slide the battery cover downwards with pressure focused on the center of the cover.

    • Lift the cover off of the phone.

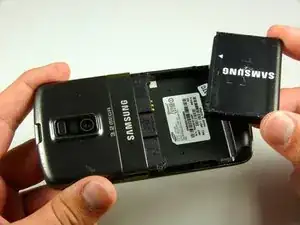
  2. D2rje2VFAkfOCfPp
    • Grasp the bottom left and right corners of the battery and lift it from its housing.

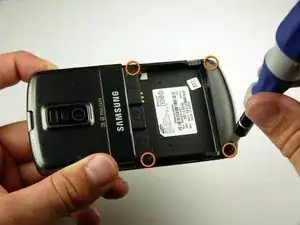
  3. DGWsxCn5Mbi6Exdn
    • Remove the four black 7.30 mm screws surrounding the battery housing using a Phillips #00 Screwdriver.

  4. mTQnaTIb1WCV2sGL
    mTQnaTIb1WCV2sGL
    w2GEhw4F1bW2E5bO
    45GaT6UL6MJZSR6F
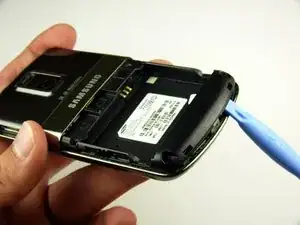
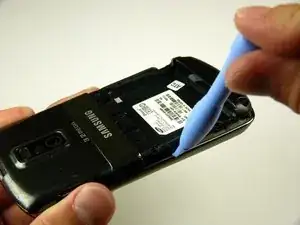
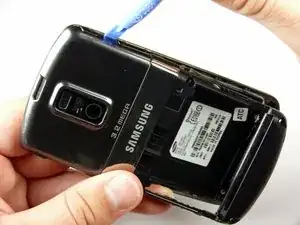
    • The rear case is firmly attached to the phone with clips. Do not be afraid to use a little extra force.

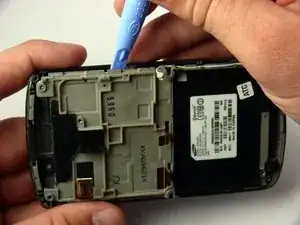
    • Insert the Plastic Opening Tool in between the front and rear cases.

    • Pry with the Plastic Opening Tool around all edges of the phone until you free all the clips.

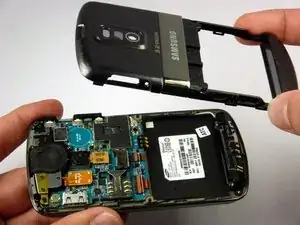
  5. 5hMnkoKsKJqdGjPa
    • Lift the rear case off of the phone.

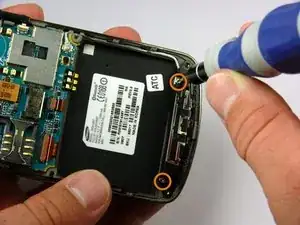
  6. E6wTFQAM1U1eVrhD
    • Remove the two silver 4.30 mm screws on either side of the antenna using a Phillip's #00 Screwdriver.

  7. ITuOvxTdabAaaujV
    ITuOvxTdabAaaujV
    PUGYjOo63Paorp3Y
    mIUH3WXn4BDObdZW
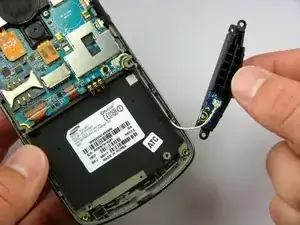
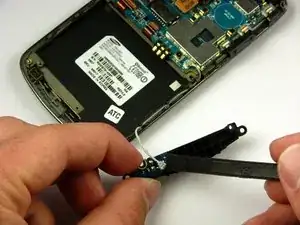
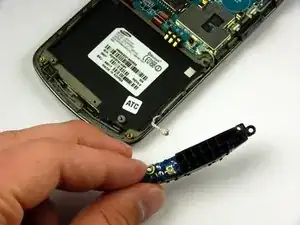
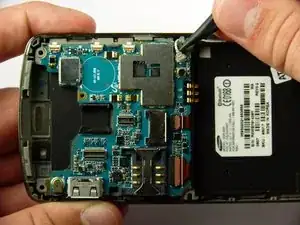
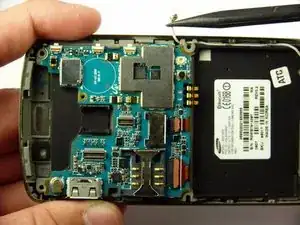
    • There is a wire under the antenna connecting it to the Motherboard. Do not pull off the antenna just yet.

    • Use a spudger to remove the wire connector under the antenna.

  8. vVrJEylQHfhZZ6kJ
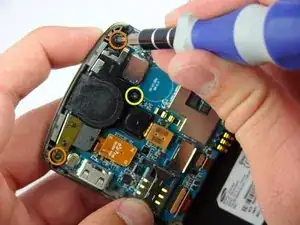
    • Remove the two black 7.30 mm screws on the top right and left corners of the Motherboard using a Phillips #00 Screwdriver.

    • Remove the silver 4.50 mm screw located below the speaker using a Phillips #00 Screwdriver.

  9. hLcpPy5vqpdjkYva
    hLcpPy5vqpdjkYva
    iqfiQWFUyWRDeteK
    • Use the spudger to detach the speaker ribbon cable.

  10. SAvIjk6aklCmDQs1
    • Lift the speaker out of its compartment.

  11. xrOONG511b3GFiKZ
    • Remove the power and volume buttons on the right side of the Motherboard.

  12. tBAthIIRBnuiY4vF
    tBAthIIRBnuiY4vF
    AZJvTkYsWcCJ3bmA
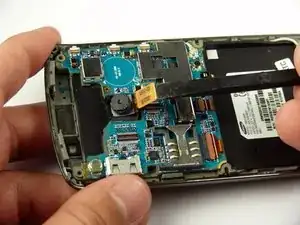
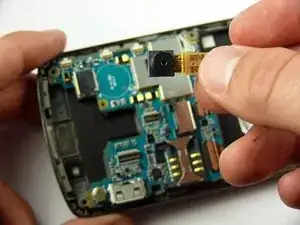
    • Use a spudger to detach the camera ribbon cable.

    • Lift the camera off of the Motherboard.

  13. eOqBVIT1yDEIvWbN
    eOqBVIT1yDEIvWbN
    vhB6S5nssYY3yynB
    • Use a spudger to disconnect the white antenna wire on the bottom right corner of the Motherboard.

  14. kyuViBLBfcIFaPJJ
    kyuViBLBfcIFaPJJ
    TtrqxuH2SJAOVGdG
    RTYlqAjhFjHPJN43
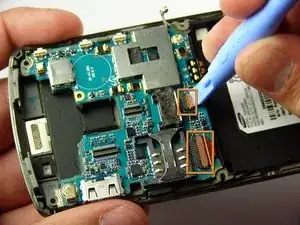
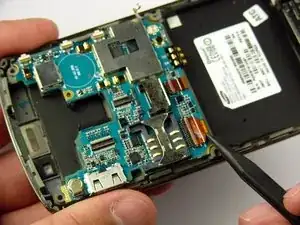
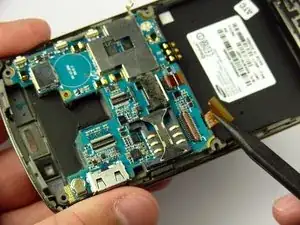
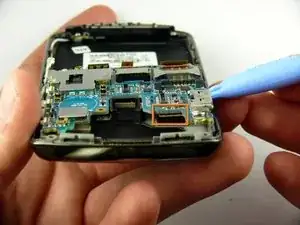
    • Use a Plastic Opening Tool to lift the flaps of the ZIF connectors to release the ribbon cables near the bottom of the Motherboard.

    • Use a spudger to carefully pull the ribbon cables away from the ZIF connectors.

  15. LqEBnxfHWeJTMt2p
    LqEBnxfHWeJTMt2p
    XByZAIR2HEqUsaqW
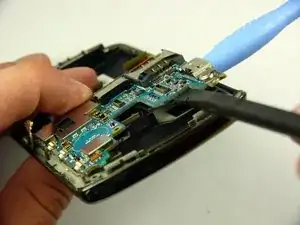
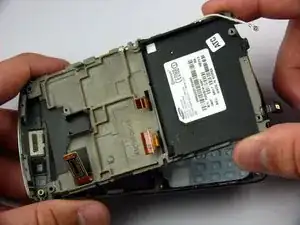
    • There is a ribbon cable under the Motherboard connecting it to the LCD. Do not pull off the Motherboard just yet.

    • Insert the Plastic Opening Tool under the upper left corner of the Motherboard to help reveal the ribbon cable.

    • Use a spudger to disconnect the Motherboard ribbon cable.

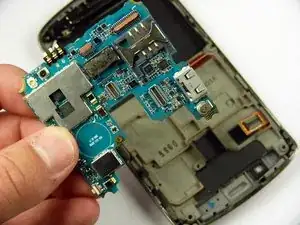
  16. iEgRt2WIk1NMenMv
    • Lift the Motherboard off of the phone.

  17. 1LivLKLnDXfQ1aXh
    1LivLKLnDXfQ1aXh
    tK2quwJqSgXiqpqg
    ghQ4nCLWjdvROVXy
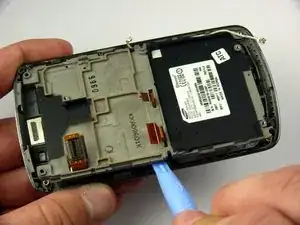
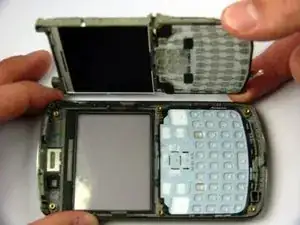
    • The LCD frame is firmly attached to the phone with clips. Do not be afraid to use a little extra force.

    • Insert the Plastic Opening Tool between the LCD frame and the front case of the phone.

    • Slide the Plastic Opening Tool around the LCD frame to detach all of the clips.

  18. P1jdKyELLRaQbZhG
    P1jdKyELLRaQbZhG
    FbElx4hhPBMYonoA
    • Lift up the LCD frame.

  19. PV6dUZCnUpZUJUdc
    PV6dUZCnUpZUJUdc
    FZAw2SHkHucDMtLY
    GSfw6Qlc6vUkEqZY
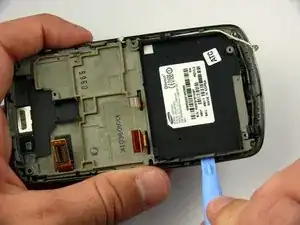
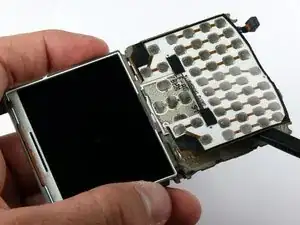
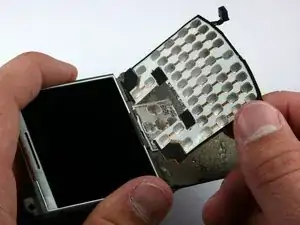
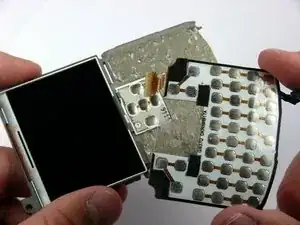
    • The keyboard ribbon cable passes through the LCD frame. Be careful not to rip the ribbon cable when removing the keyboard.

    • The keyboard and directional keys are glued separately to the LCD frame.

    • Insert the spudger between the keyboard and the frame.

    • Peel the keyboard off by sliding the spudger back and forth across the LCD frame.

  20. QuCjMouUXWIXVI16
    QuCjMouUXWIXVI16
    VowJAFP5Ubl1eW1X
    TNDLUXZvrQoi2uLU
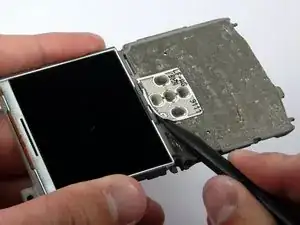
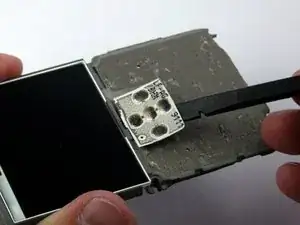
    • Insert the spudger between the directional keys and the frame.

    • Peel the directional keys off by sliding the spudger back and forth across the LCD frame.

Заключение

To reassemble your device, follow these instructions in reverse order.
Jaime Serrano

Участник c: 12/04/11

59 Репутация

0 комментариев