Введение
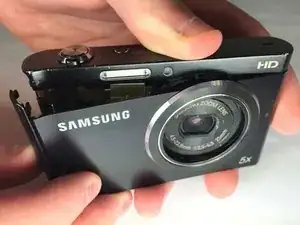
This guide will show you how to remove the casing around the device so that it and the parts underneath it can be replaced.
Инструменты
-
-
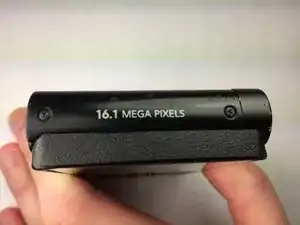
Remove the two black 4.2 mm screws on the right side of the camera using a Phillips #0 screwdriver.
-
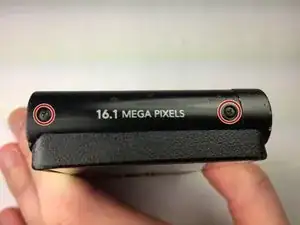
Remove the two black 4.2 mm screws on the left side of the camera using a Phillips #0 screwdriver.
-
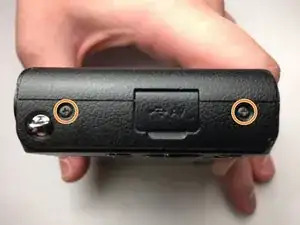
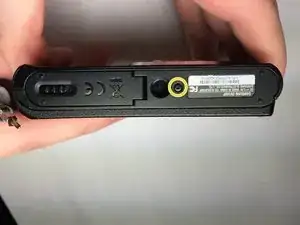
Remove the two black 4.2 mm screws on the bottom of the camera using a Phillips #0 screwdriver.
-
-
-
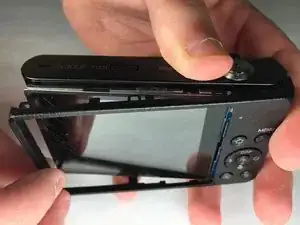
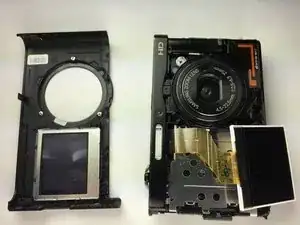
Remove the front case of the camera.
-
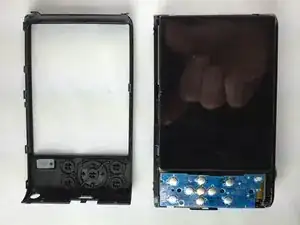
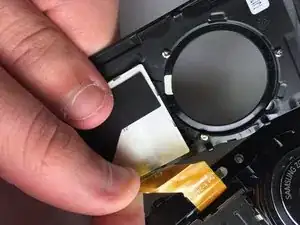
Remove the front LCD screen from the front case next to the lens.
-
Заключение
To reassemble your device, follow these instructions in reverse order.
Only one screw on bottom of camera
John Petralito -