Введение
The guitar keys can wear out over time or stop working completely. This guide demonstrates how to successfully remove the keys to diagnose internal problems.
Инструменты
-
-
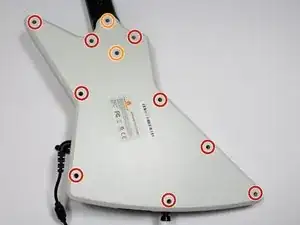
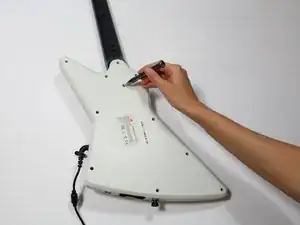
Remove the nine 12mm Phillips #1 screws around the perimeter of the case with a screwdriver.
-
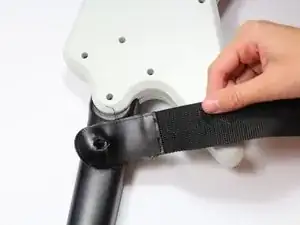
Remove the two 15mm Phillips #1 screws connecting the body panel to the neck panel with a screwdriver.
-
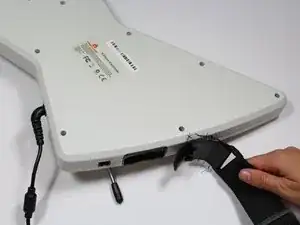
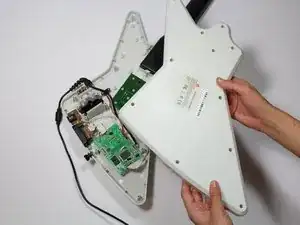
Pull off the rear case.
-
-
-
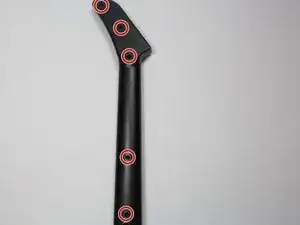
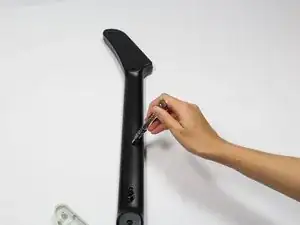
Remove the five 12mm Phillips #1 screws along the neck with a screwdriver.
-
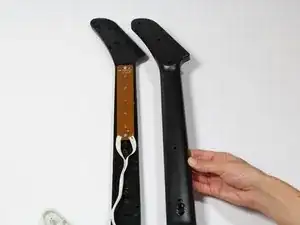
Pull off the top shell of the neck to expose the internal features.
-
-
-
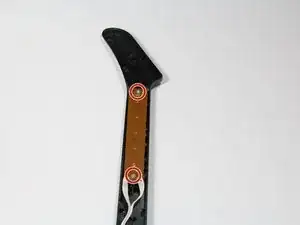
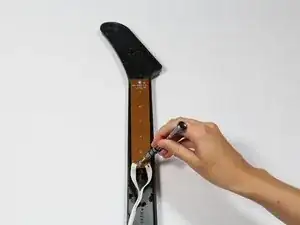
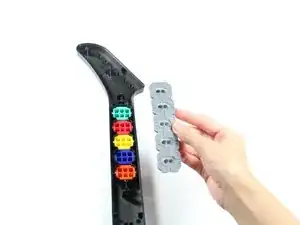
Use a screwdriver to remove the 10 mm Phillips #1 screws from the key sensor board.
-
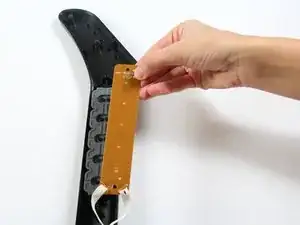
Lift up on the key sensor board to remove it from the guitar neck.
-
-
-
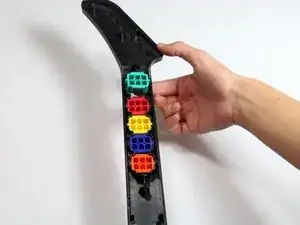
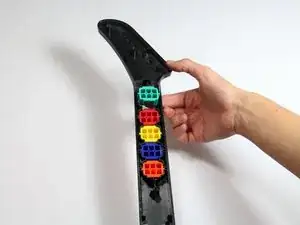
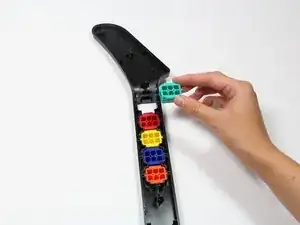
Reach one finger under the guitar to push the key out of the casing.
-
Repeat this step for the four remaining keys.
-
To reassemble your device, follow these instructions in reverse order.