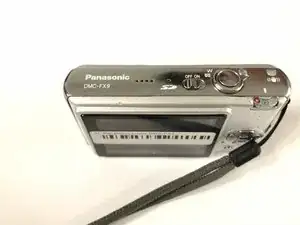
Введение

  1. HUrpIjTkyFhvFCWK
    • Make sure the power is off by switching the power switch to the left.

  2. g1WTOEnLrSBaJYVX
    g1WTOEnLrSBaJYVX
    RV6c322HZTXf2XNe
    • Use a Phillips #00 screwdriver to remove the screws on the left side of the camera.

  3. 1owMWJVSZMR6w5KV
    • Remove the screws on the right side of the camera by using the Philips #00 screwdriver.

  4. sMMFCeKMHJVb5SjJ
    sMMFCeKMHJVb5SjJ
    VoTIyUyEjxnQssGT
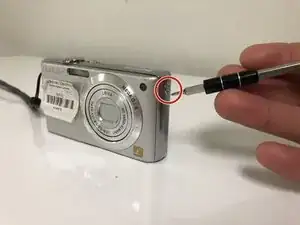
    • Remove the screws on the bottom side of the camera using the Philips #00 Screwdriver.

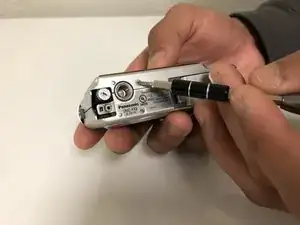
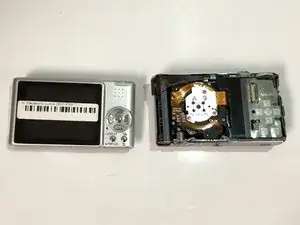
    • Separate the covers by gently applying force upwards, carefully placing the opening tool between the two covers.

  5. cwPL4Rk6vTy6CUU6
    cwPL4Rk6vTy6CUU6
    qYTJ2FTJvCTRl3V6
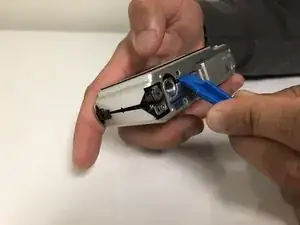
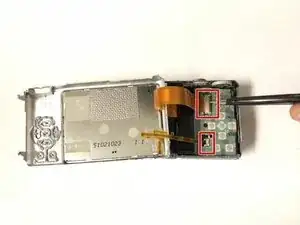
    • Lift the ZIF tabs up with the opening tool and carefully remove the digitizer ribbon cables.

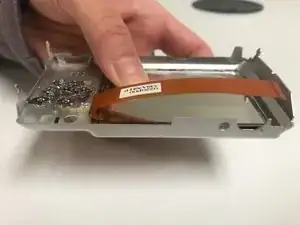
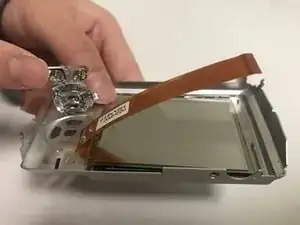
    • Remove the LCD Screen from the glass frame carefully with the opening tool.

  6. rxeMsXcKRTHMTbXv
    rxeMsXcKRTHMTbXv
    Y51TdU2tHFCU1GXl
    • Push on the back panel buttons on the front side to remove the buttons.

    • Be cautious of the adhesive holding the button panels to the cover. Apply extra force if necessary.

Заключение

To reassemble your device, follow these instructions in reverse order.

Kriselle Tubongbanua

Участник c: 21/02/18

133 Репутация

0 комментариев