Введение

This guide will teach you how to use the soldering technique to remove the desired LED from the logic board and replace it with a new LED. Be careful when soldering because there is chance of damaging the controller.

  1. Rn6ElGaMftUQaAoH
    Rn6ElGaMftUQaAoH
    KBpOxfCT5TOSlkSC
    • Loosen the seven 11 mm Phillips #0 screws located on the back of the controller.

  2. ukAwrn5NE2qni53J
    • Using a plastic opening tool, pry the back cover from the front.

    • The covers should separate without needing a plastic opening tool, but in some cases you may need to use it.

  3. e4vNBLNJZvOEtxtK
    • Remove the top cover from the bottom and place next to each other.

  4. WeA34KPtSDUEqgRJ
    WeA34KPtSDUEqgRJ
    Tpx6UW1LRfH6HBKy
    • Remove the logic board from the controller casing by lifting up and pulling out.

  5. uhnA2H3LSKGf1M15
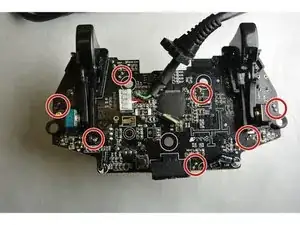
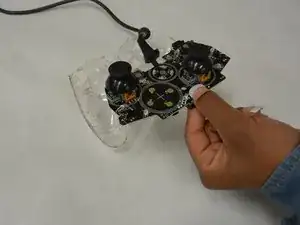
    • Locate the LED (s) that needs to be replaced.

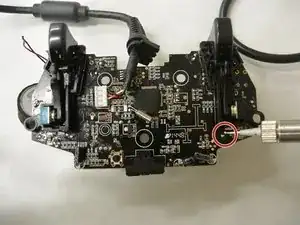
    • Once the LED has been located, flip the logic board to the other side and locate the pins associated with the LED that needs to be replaced.

  6. qAOMiBjDwIypXKUw
    • Desolder the LED from the logic board.

    • The soldering iron is very hot and can harm you or the device if used improperly.

Заключение

To reassemble your device, follow these instructions in reverse order.

Joi Officer

Участник c: 17/09/15

298 Репутация

0 комментариев