Введение

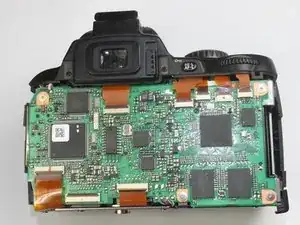
This guide will demonstrate the proper procedure to remove the back panel without damaging the internals of the camera so that you can access a variety of the components hidden behind it.

Инструменты

  1. AOdPOxaD4pmYY2sA
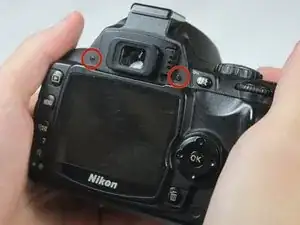
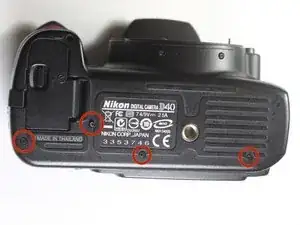
    • Remove the two visible 6.0 mm Philips #0 screws on the left and right sides of the viewfinder. These screws are highlighted in red.

  2. SPLKLSAwTQqFa5A1
    SPLKLSAwTQqFa5A1
    iMmEb6PMlhRoMIer
    • Remove the four 6.0 mm Philips #0 screws on the left and right sides of the camera.

  3. jMAKRwKmBd2XiaFm
    • Remove the four highlighted 3.0 mm Philips #0 screws on the bottom of the camera.

    Worth mentioning, the top circled screw was a 6mm on my camera. The other 3 were 3mm.

    Mark Brown -

  4. ZvD1ATLKgxS2FTOZ
    • While pulling the bottom down, remove the back of the camera.

    • Be careful not to pull too hard on the back as it is connected via a ribbon cable. Be sure to disconnect this cable on the main board.

    • To disconnect the ribbon cable pull the small black tab upward and pull gently on the cable.

Заключение

To reassemble your device, follow these instructions in reverse order.

Gerik Kubiak

Участник c: 22/01/14

327 Репутация

0 комментариев