Введение
This guide will aid you in the process of removing the camera of the device. This is useful in replacing a broken or dis-functioning camera.
Инструменты
-
-
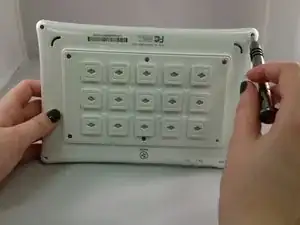
Make sure the screen is facing away from you and the back cover is facing you.
-
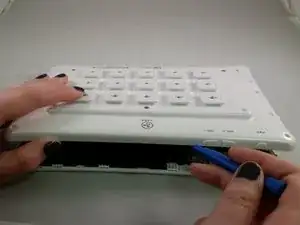
Using a Phillips #0 Screwdriver, unscrew the 3mm screws counter-clockwise in each corner of the plastic back cover. It will be a total of four screws. The smaller case on the back cover is attached to the main cover so it will not need to be removed.
-
-
-
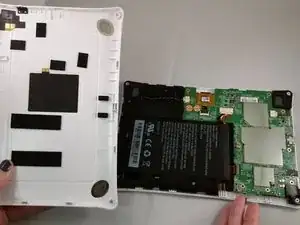
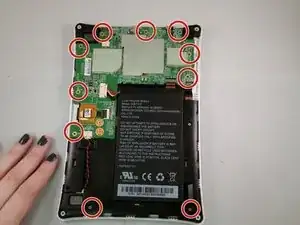
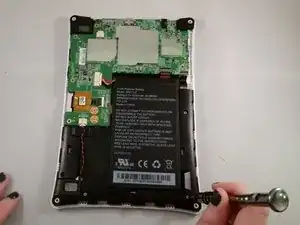
Unscrew the circuit board from the motherboard by using a Phillips #0 screwdriver to unscrew the ten 4mm screws in a counter-clockwise rotation.
-
-
-
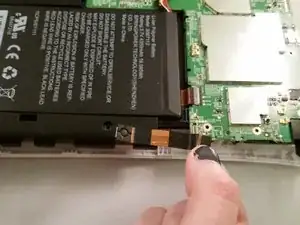
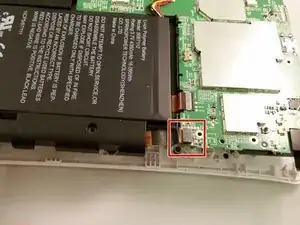
The camera is attached to the circuit board and then tucked underneath. Gently grip the part attached to the circuit board and pull it up and away from the circuit.
-
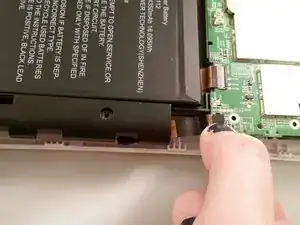
Gently slide the camera out from underneath the circuit board.
-


To reassemble your device, follow these instructions in reverse order.