Введение
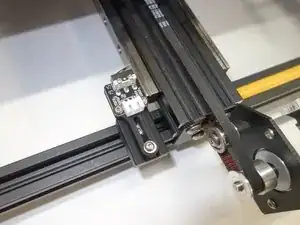
CR 10/S endstop install and adjustment.
Инструменты
-
-
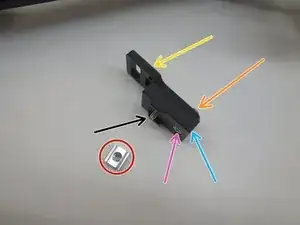
M3 Sliding T-Nut
-
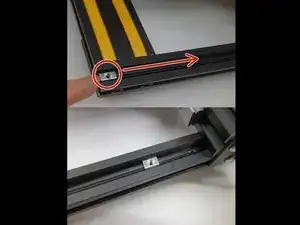
Slide in the M3 T-Nut toward the middle of the printer
-
M3X12 BHCS & M3 FLAT WASHERS
-
M3x10 FHCS
-
Adjustable Endstop Mount A
-
Adjustable Endstop Mount B
-
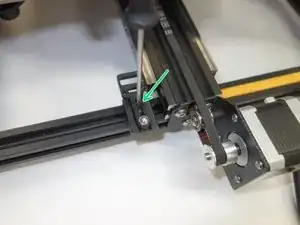
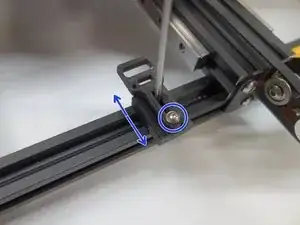
Tighten the M3 screw into the T-Nut
-
-
-
Adjust endstop mount until it is square with the Linear rail
-
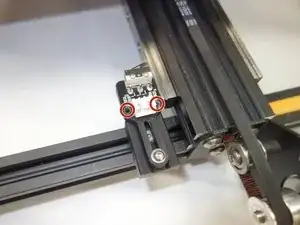
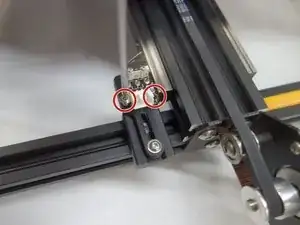
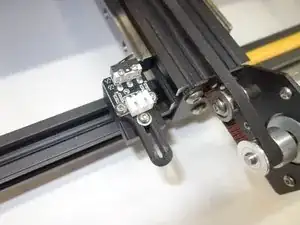
Remove stock endstop board form Creality mount and Reuse the stock screws to mount the endstop as shown
-
-
-
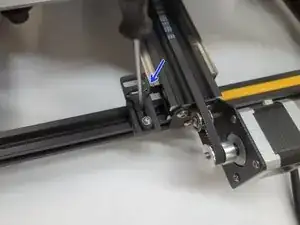
Use M3x12 BHCS to adjust the endstop position, so the nozzle tip is even with the front edge of the bed when the end stop is triggered
-
