Введение
The charging port is used to charge the LifePrint 3x4.5 and is an essential working component of the printer. The port is a micro usb c port.
-
-
Place one hand on the top cover and one hand on the bottom portion of the LifePrint.
-
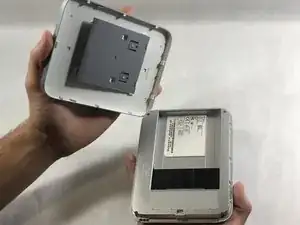
While having the LP logo on the printer facing away from you, push the top cover away from you until it can't be slid away any further.
-
Pull the cover with the LP logo up to separate it from the rest of the printer.
-
-
-
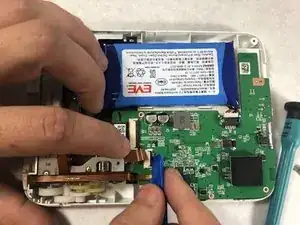
Using a Phillips #0 screwdriver, remove the four 15 mm screws connecting both sections of the device.
-
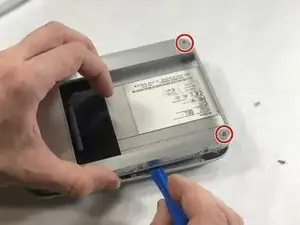
Use an opening tool to remove the inner cover from the printer.
-
-
-
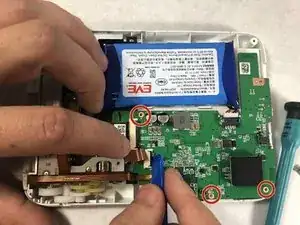
Remove the five Phillips #0 screws from the outer edge of the motherboard indicated by the copper color surrounding the screws' housing.
-
-
-
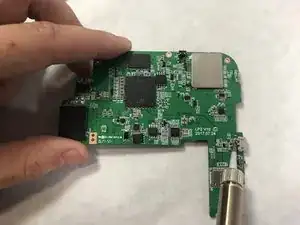
Use a soldering iron to heat up the soldering joints surrounding the port that connects the device to the circuit board.
-
After the solder is heated up use the de-soldering wick to absorb the solder holding the socket to the circuit board .
-
After the solder is removed use the tweezers to remove the port from the circuit board.
-
To reassemble your device, follow these instructions in reverse order.
Possibly have a closed picture of the printer with an arrow of which way to push the top cover. Then have this picture second.
Ed LaLumiere -