Введение

This will take approximately 50 minutes to complete from beginning to end.

  1. LbGdYpaKVCEDgeTF
    • To begin, ensure that the device is completely powered off and not connected to an energy supply.

    • Close the device and flip it over to expose the back panel.

  2. kCAJQ6NRJyjIpQJ6
    kCAJQ6NRJyjIpQJ6
    vAvTvuYrVqPyi1XF
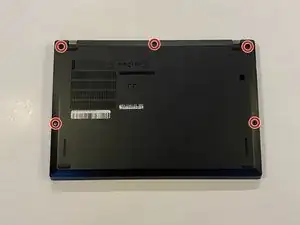
    • Use a Phillips #1 screwdriver to unscrew the five captive screws on the back panel until a small pop is heard.

    • These are captive screws and do not come out completely.

  3. tdURQQikBpcB6Aeq
    tdURQQikBpcB6Aeq
    PIrBlwPDQyt2dFSZ
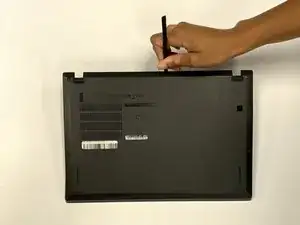
    • Gently wedge an opening tool or spudger under the back panel, and loosen the clips around the perimeter until the back panel comes off.

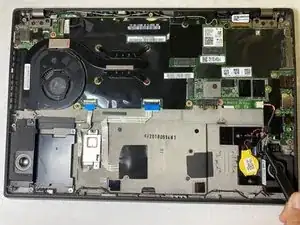
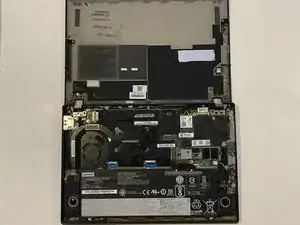
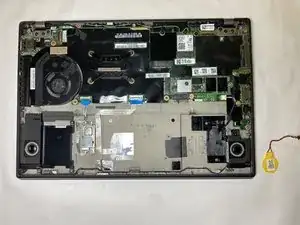
    • Remove the back cover.

  4. CDc3tKl3jveRmvRw
    CDc3tKl3jveRmvRw
    WuIgHA42wXknVcPi
    hpQCeuRNoGK5OBep
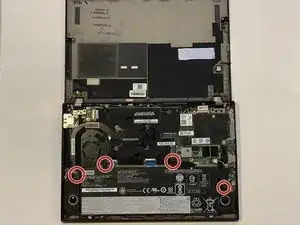
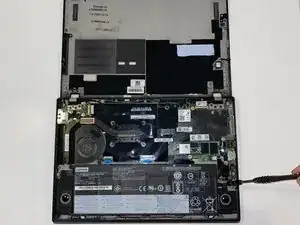
    • Using the Phillips #1 screwdriver, remove the four 5 mm screws that are holding the battery down.
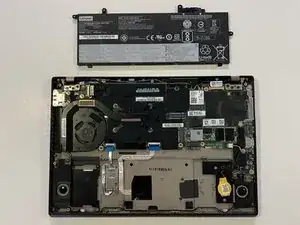
    • Remove the battery.

  5. Z2ViiXoZtSsphLww
    • Use tweezers to gently unplug the CMOS Battery from the port on the right side.

  6. GikkXNZVSBtcTydU
    • Work the wire out from its holding brackets and is now free to be removed.

Заключение

To reassemble your device, follow these instructions in reverse order.

Hannah Bryn Cullen

Участник c: 03/10/22

457 Репутация

0 комментариев