Введение
Conducting a speaker replacement for the LeapPad Ultimate is a moderate task. It requires a pair of curved tweezers and a Phillips head screwdriver.
Инструменты
-
-
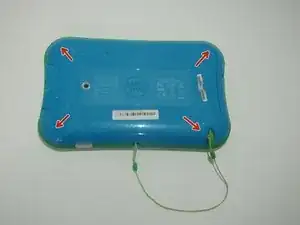
Flip over the Pad to its back side to begin the removal of the back panel.
-
Begin by removing the blue rim along the edge of the device. It runs along the green silicone lining.
-
-
-
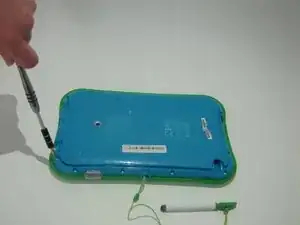
Once the blue rim is removed, the 12 screws will be visible.
-
Use the Phillips #1 screwdriver to unscrew all 12 screws.
-
-
-
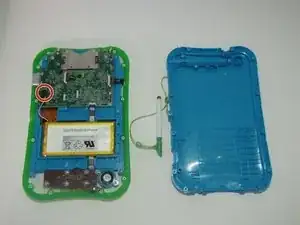
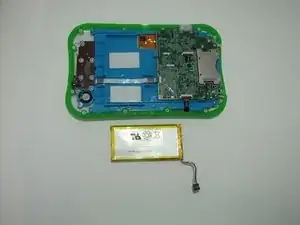
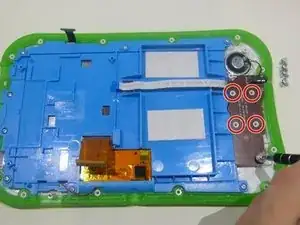
Remove the back panel of the device exposing the internal components of the device.
-
Once the internal components are exposed locate the point which connects the battery to the motherboard.
-
-
-
The point connecting the battery and motherboard is made up of three wires, red, white, and black.
-
The plastic portion on the motherboard's end will have a small notch on top. Pull the notch in the direction towards the battery with the curved tweezers. This will disconnect the wires from the motherboard.
-
-
-
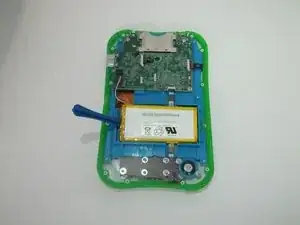
Carefully remove the battery from the LeapPad. Use an opening tool or a plastic spudger to gain leverage, if needed.
-
-
-
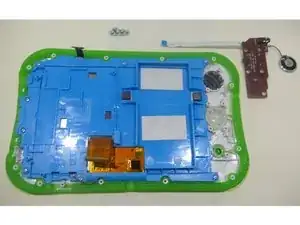
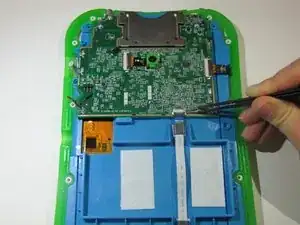
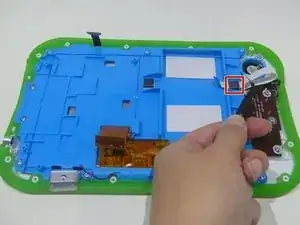
To begin removing the speaker, you must first disconnect it from the motherboard.
-
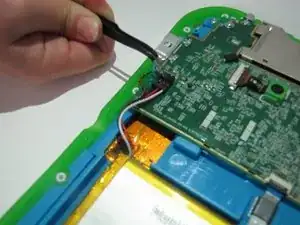
Flip up the black switch found on the small white connection site with the blue ribbon that is located on the motherboard.
-
-
-
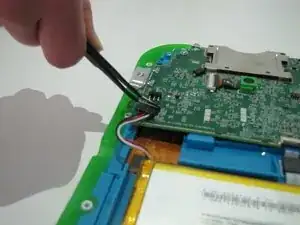
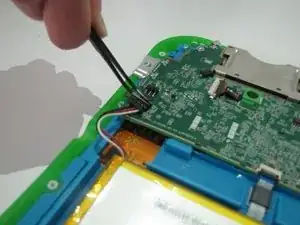
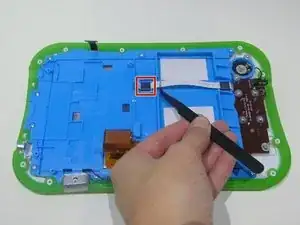
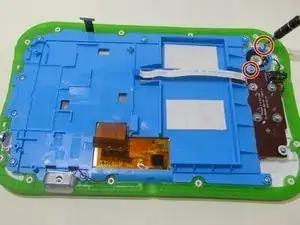
Once the blue ribbon cable is disconnected from the motherboard, use tweezers to carefully pull the ribbon cable out of the slots.
-
-
-
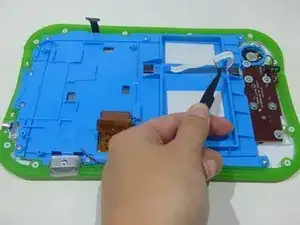
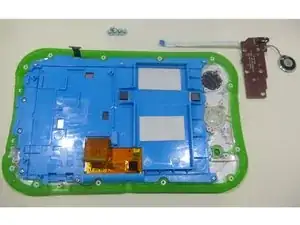
Remove the circular plastic speaker and the 2 screws a Phillips #1 screwdriver. Gently lift the cover off of the device.
-
-
-
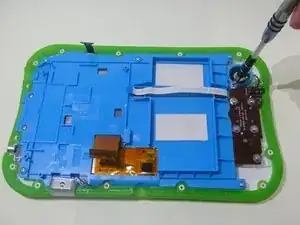
On the brown speaker board, you will see 5 more screws. Remove all 5 of these screws with the same Phillips #1 screwdriver.
-
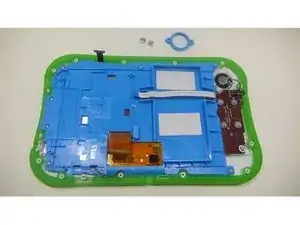
Gently lift the speaker board, speaker, and attached ribbon cable from the device as one piece.
-


To reassemble your device, follow these instructions in reverse order.

2 комментариев
the battery is very difficult to remove, there is too much adhesive tape on the back. I had to do an internal cleaning because my son put some fruit juice inside and because of that there was no sound coming from the LeapPad, after a deep cleaning with alcohol it worked fine again.
jobega -
Very nice guide, but I am confused. Do you have to buy a new speaker to put in the device if you are removing the old one?