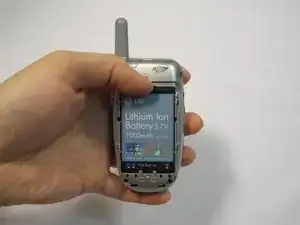
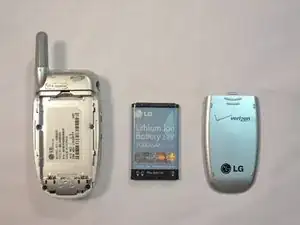
Введение

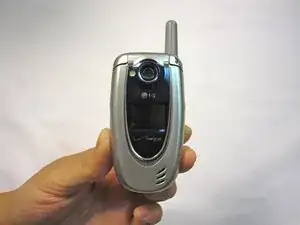
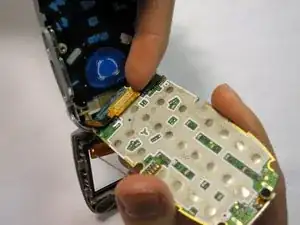
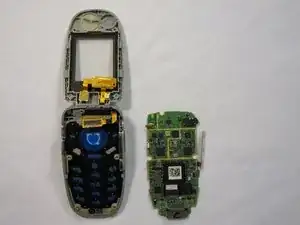
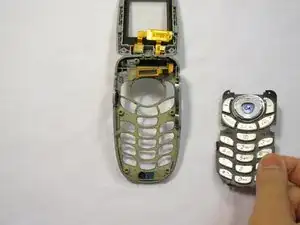
Instructions to get to and remove the keypad unit.

  1. 3FGQqKIbONjxcQlu
    3FGQqKIbONjxcQlu
    PYjtnPdQhq5AddAc
    • Turn the phone on its back.

  2. yV6k6qxaFP1qA3uR
    yV6k6qxaFP1qA3uR
    RBGAxspYELKXEiCT
    • Orient the phone as shown.

    • Remove the battery cover by pushing upward with your thumb.

  3. P16HdF3qGTBtWi6n
    P16HdF3qGTBtWi6n
    3tGyKFZHq6FLo2ZK
    • Place your fingernail at the top of the battery and pry the battery out towards you.

  4. JKAxFwvUqmgkLlbT
    • Orient the phone as shown with the battery already removed.

  5. 41T3ZAAShUFvEpio
    41T3ZAAShUFvEpio
    CLitcewSEkGSyLlZ
    AVRTOwaDPYMquLri
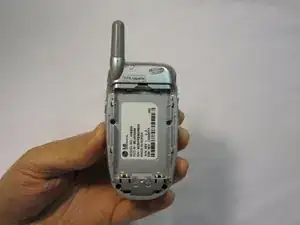
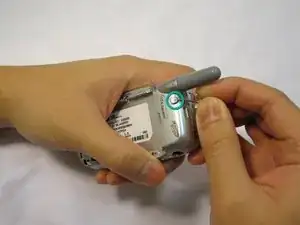
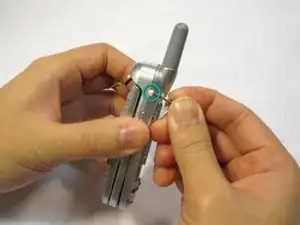
    • Remove the 2 plastic plugs located on the side and upper quadrant of the rear body panel by using the push-pin and lifting outwards.

    • Use a Phillips #00 screwdriver to remove the 5 screws as shown here.

  6. VftayKma5c3SSZZn
    VftayKma5c3SSZZn
    BMFwfhXYktcHXZvt
    55jJCGq3ogwkWDCA
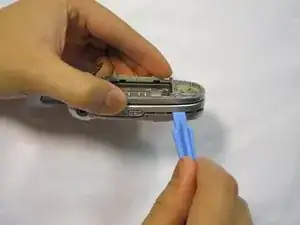
    • Place an iPod opener tool in the seam above the antenna.

    • Run the tool around the perimeter of the entire phone.

  7. GmT2SAo1FpYd6SmA
    • Check to see that your device looks like the attached photo.

  8. uDppvuUyZwAR2MWD
    uDppvuUyZwAR2MWD
    ZAKXEnSjb3bkDlqH
    HMgKjqtmpOKwKbAL
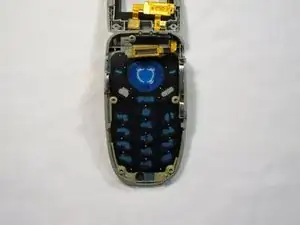
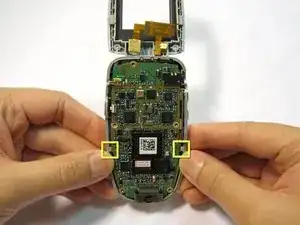
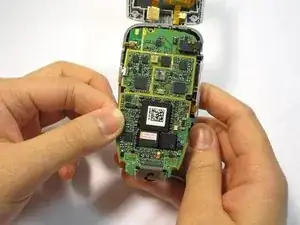
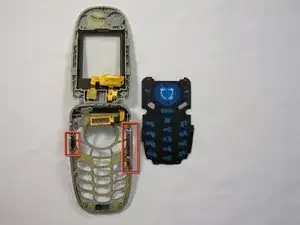
    • Locate the tabs that hold the logic board in place.

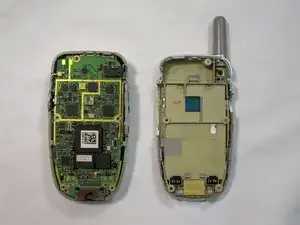
    • Pull the outer frame of the phone outwards to release the board from the tabs.

  9. SVEG2XEe1LTahjFg
    SVEG2XEe1LTahjFg
    pHKZXPFceGO2d3yM
    oiocYHCdkAx52ola
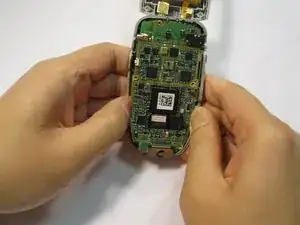
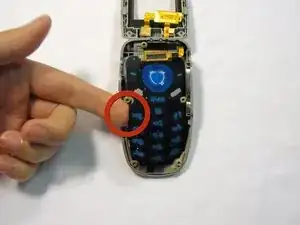
    • Locate the copper connection (orange-colored) on the back of the board.

    • Pry the connector free from the board with your fingernail.

  10. kge2ADQR6k1pnYtX
    • Check to see that your device looks like the image shown.

    • Note: The image is shown with the LCD screen removed. This is not necessary for logic board removal.

  11. sCcHvN4eKtbV2myG
    sCcHvN4eKtbV2myG
    nmghECUFCmCqNFSq
    SHX61oVV1keMD1AL
    • Use your finger to lift up the keypad.

  12. jbX2y6aEesjBV2Dp
    • Check to see that your device looks like the image shown.

    • Do not let the buttons fall out of the side casing of the phone!

    • Note: The image is shown with the LCD screen removed. This is not necessary for keypad repair.

Заключение

To reassemble your device, follow these instructions in reverse order.

Douglas Blaalid

Участник c: 13/01/10

282 Репутация

0 комментариев