Введение

  1. Dm6AYHDyRJ4oetYG
    Dm6AYHDyRJ4oetYG
    c6L6UBjoUhUaXfcy
    QunDvvUS24YHj2JD
    • Unplug and power off your phone before you begin.

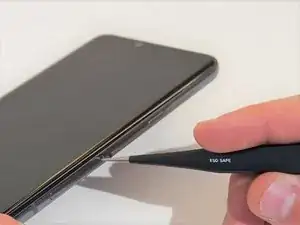
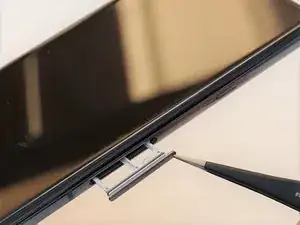
    • Insert the SIM card eject tool into the pinhole in the lower right side of the phone.

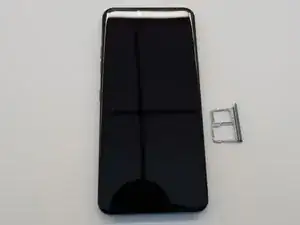
    • Remove the SIM card and tray.

  2. DjE4LjwjuSYCTvdq
    DjE4LjwjuSYCTvdq
    Hp1JOXt2WvBOqfDn
    rN4fFstKOvCmXSiE
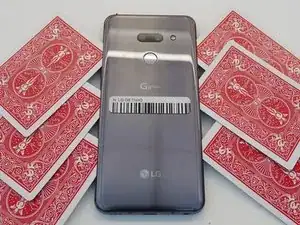
    • Place the phone so that the screen is facing down.

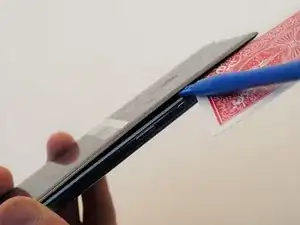
    • Insert opening cards between the back panel and frame of the phone to loosen the clips and adhesive.

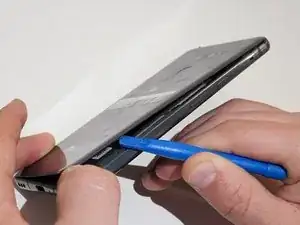
    • Using equal pressure, carefully pry the back panel away from the phone.

    • Once enough space has been created, use an opening tool to completely separate the back panel from the phone.

    This is where I started to ponder for the first time because my camera looks different.

    I also have a LG G8 ThinQ but maybe the european version

    Thomas Wiele -

  3. UBdsBxNSQ65LQSLG
    UBdsBxNSQ65LQSLG
    SM6lJIWNBcupSYN1
    VbrV14ZG24L3eDZb
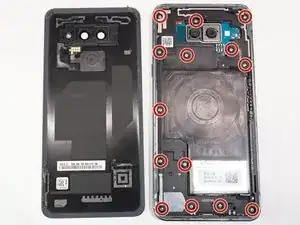
    • Remove all 14 screws from the midframe using a Phillips #000 screwdriver.

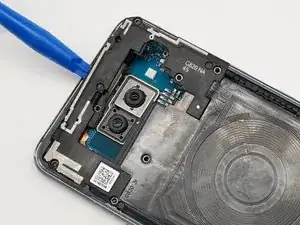
    • Work an opening tool around the perimeter of the midframe to pry and remove it from the phone.

    and here it is true, the screws are in a different place. The sound system on the bottom is also different

    Thomas Wiele -

  4. HT2saavn3AlUKChl
    HT2saavn3AlUKChl
    qtSYAGmWXNW6ou3T
    fvJEaDrXFupqqAHD
    • Using an opening tool, carefully pry out remove the speaker system from the phone.

  5. nAfMZjmKN5v2KhyS
    nAfMZjmKN5v2KhyS
    uiJ4VtAyKbMEEYHI
    JGLjsYBSPtTEQ3pj
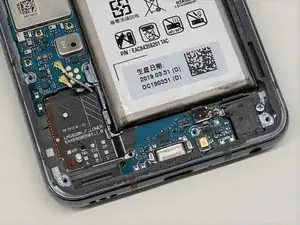
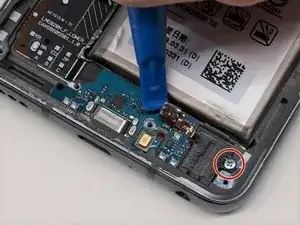
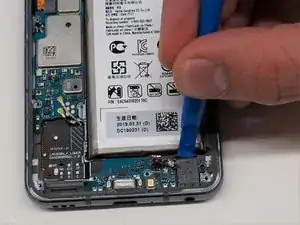
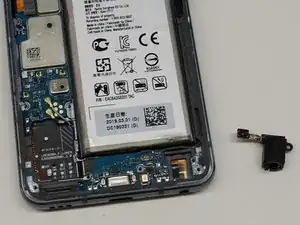
    • Using an opening tool, carefully disconnect the ribbon cable connecting the 3.5mm audio jack to the motherboard.

    • Remove the screw holding the 3.5 mm audio jack in place using a Phillips #000 screwdriver.

    • Remove the audio jack from the phone.

  6. GApKJtG5CJSQKMk1
    • Flip phone so that screen is facing up.

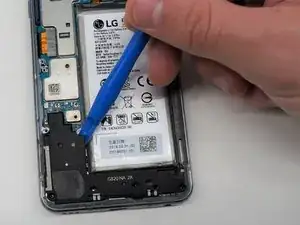
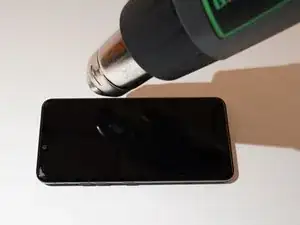
    • Using a heating pad, hairdryer, or heat gun, apply heat to loosen the adhesive beneath the battery.

    • Be careful to not overheat the phone; the screen and battery are susceptible to damage.

    • The adhesive can be difficult to soften; it may take many attempts.

  7. TOcZtFWibQYouDAp
    TOcZtFWibQYouDAp
    SZ2GwHLhomMAwWnh
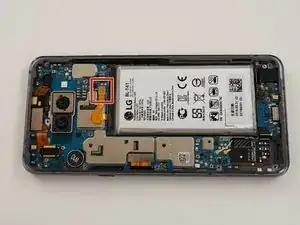
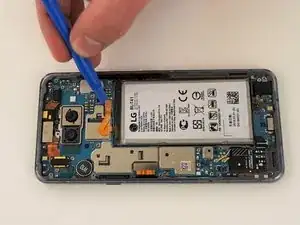
    • Using an opening tool, carefully pry up the ribbon cable to disconnect the battery.

    the battery type of my LG is "BL-T43"

    Thomas Wiele -

  8. lBZshqlXYHkQwJQO
    lBZshqlXYHkQwJQO
    XD3AOQOLw1GF3ta5
    WtbTAItY2wKmgBJA
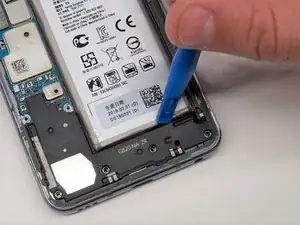
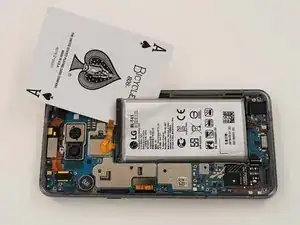
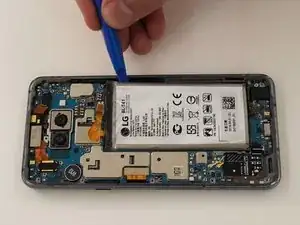
    • Using opening cards or an opening tool, carefully pry around the edges of the battery.

    • If you have trouble prying up the battery, the adhesive may not be loose enough. Re-apply heat, or use some isopropyl alcohol under the battery, allowing it to penetrate for several minutes to weaken the adhesive.

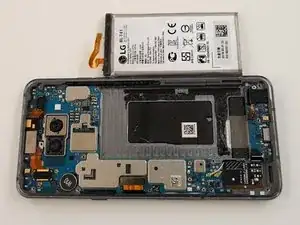
    • Remove the battery from the phone.

    Although it is a different phone, the instructions were helpful.

    Unfortunately, my battery exchange was pointless.

    I think my USB socket is defective and unfortunately I can't find any instructions for it at the moment.

    But if anybody want, i can send a few pics from the repairing

    Thomas Wiele -

  9. n2mXGOaHZcNkOErK
    n2mXGOaHZcNkOErK
    odwHXnTLGNoTMGyy
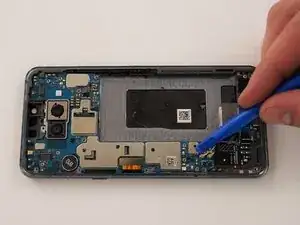
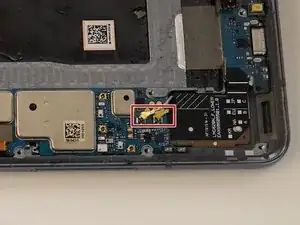
    • Use an opening tool to disconnect the two coaxial cables from the motherboard.

  10. tgJVfOaHUMqCwREC
    tgJVfOaHUMqCwREC
    kwfVkJhHXaKqf1PM
    oIfiJttLbdnAFlhr
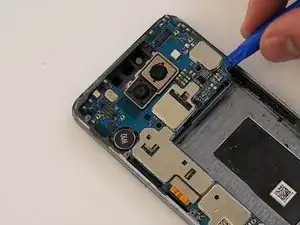
    • Using an opening tool, carefully disconnect the screen ribbon cable from the motherboard.

    • Using an opening tool, carefully pry up the motherboard from the frame and remove it from the phone.

  11. OwhrPvNLDlPxUwbD
    OwhrPvNLDlPxUwbD
    DeLZYya1XTgIDr12
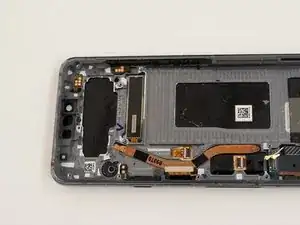
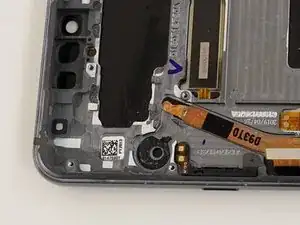
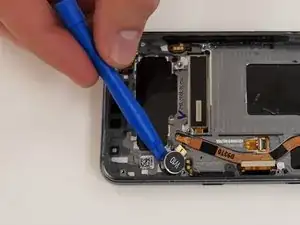
    • Remove the vibration motor from the phone casing using an opening tool.

    • Heat the vibration motor from the other side of the phone to loosen adhesive if needed.

Заключение

To reassemble your device, follow these instructions in reverse order.
Kristen Gismondi

Участник c: 12/11/14

95031 Репутация

0 комментариев