Введение

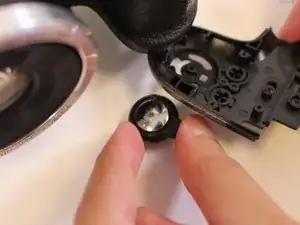
In this guide, you will learn how to repair and replace a loose or faulty shutter button on your Kodak PixPro AZ251.

  1. W1kmoSo2CFRauKtg
    W1kmoSo2CFRauKtg
    HSvixSUSNWUock6e
    • Slide switch to open lock position.

    Necesito display de este equipo

    Mauricio Alvarez -

  2. MWlabhKwFUPtDoEA
    MWlabhKwFUPtDoEA
    rTWSxQPCXfXgwwff
    • Press down on the battery cover and slide outwards to open.

  3. oVkvnSZvtkesDqdt
    • Remove the batteries.

  4. GlcE4UsnZyRuXdU3
    GlcE4UsnZyRuXdU3
    GUQ53eVAviPEdtNj
    Ho6TUfiMovbuCtvB
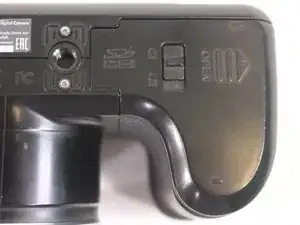
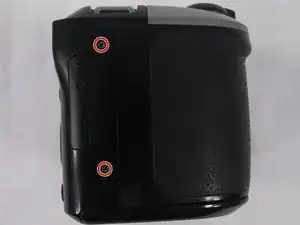
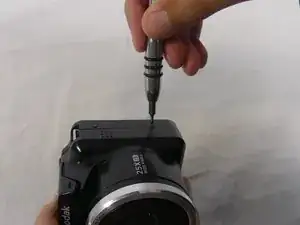
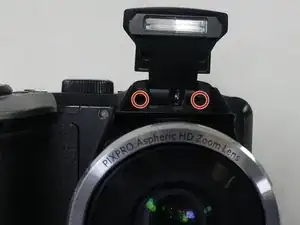
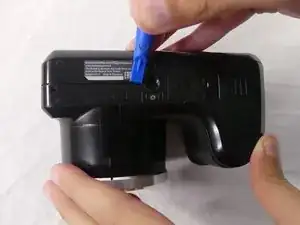
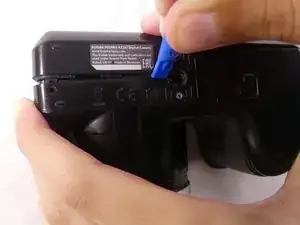
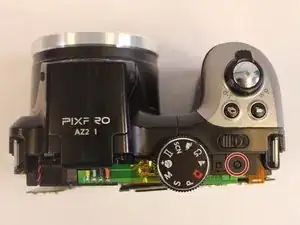
    • Remove a total of four 5mm JIS #000 screws from around the camera:

    • Two screws from the right side.

    • Two screws from the left side.

  5. HJUVNCaNevmXROPY
    • Remove the single 5mm Phillips #00 screw from the bottom.

  6. 52kBqpvLjhsdwGUw
    52kBqpvLjhsdwGUw
    V5EAt3iVMF4ATGFJ
    • Open the flash module.

    • Remove the two 6mm JIS #00 screws found inside of the flash housing.

  7. HJjJfq3gYsSLa4ZL
    HJjJfq3gYsSLa4ZL
    MGK5fc6rkGkFR1GK
    GYqvRJMnX1OHalFF
    • Use a plastic opening tool to pry apart both halves of the camera.

    • Remove the back panel.

  8. xfZYyemH44ZbsOXm
    xfZYyemH44ZbsOXm
    i4Us4wbBjD4FhErR
    • Remove these three JIS #000 screws from the control board:

    • 5mm screw.

    • 4mm screw.

    • 2mm screw.

  9. RYXP2P4Li3BMIEaj
    • Pull the small metal switch plate to the side.

  10. a2uWfVqkZZC3iwm4
    a2uWfVqkZZC3iwm4
    DEpKf1mkXSH3uXK3
    • Pry the LCD screen out of the metal housing plate with a plastic opening tool.

  11. hSrSqIV3vrfciYG5
    hSrSqIV3vrfciYG5
    cTPu1sE5fRpAxvqR
    • Use a spudger to flip up the retaining flap on the display ribbon cable ZIF socket.

    • Pull the orange cable out of the socket.

    Where do you buy a new screen from

    lewis taylor -

    Where can I buy the screen from as I can’t find the screen for the camera or can I buy a different lcd screen

    lewis taylor -

  12. PvV6jTwVLOwmn2Pr
    PvV6jTwVLOwmn2Pr
    UTnpVnVCIOklkAJ6
    • Remove one 4mm JIS #000 screw from the top of the camera.

  13. OpxJKntolBVWGiFG
    OpxJKntolBVWGiFG
    oEUqXlPePQ5eNqxK
    • Using tweezers, disconnect the orange cable connection at the top of the motherboard.

  14. bHjghujjLHcZtNkJ
    bHjghujjLHcZtNkJ
    15OFOtkLIxljPKNG
    • Pull the mode dial up and off of the camera.

    • Rotate carefully to avoid breaking the screw attaching the top side cover to the main body of the camera.

  15. 5DGEvlKUDAaEpTMW
    5DGEvlKUDAaEpTMW
    mWMHZZynsKhGCR2D
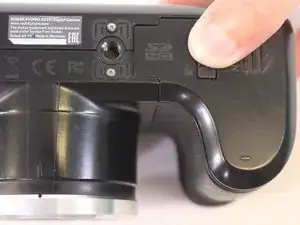
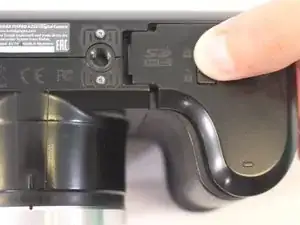
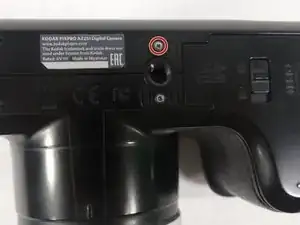
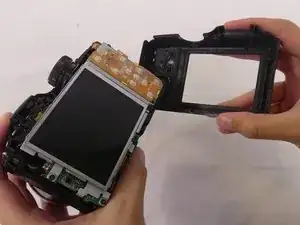
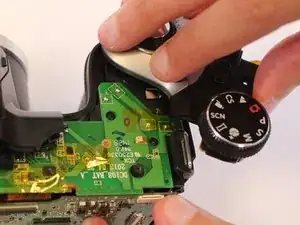
    • Turn camera upside down.

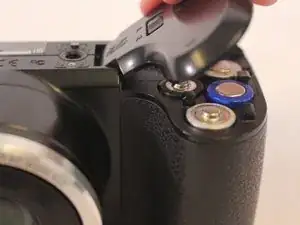
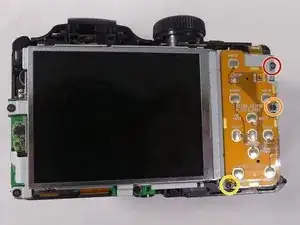
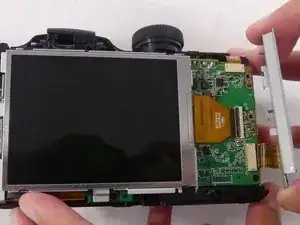
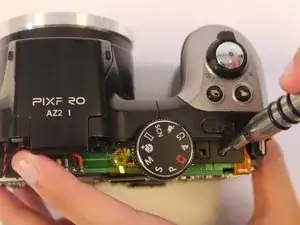
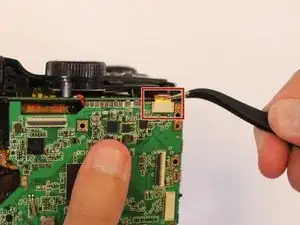
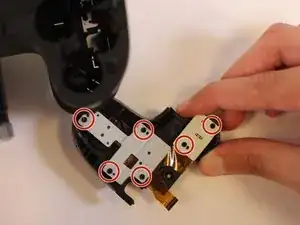
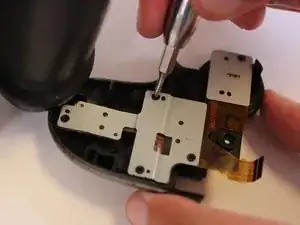
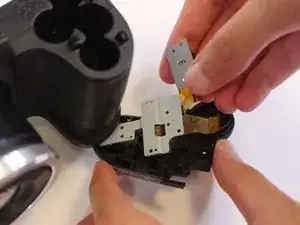
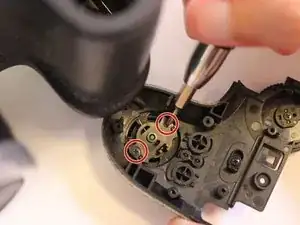
    • Remove the six 2mm JIS #000 screws from the metal base of the shutter button.

  16. TANjkASLM4wLphES
    TANjkASLM4wLphES
    4HHPR54AbQHKXVUS
    • Remove the metal base and ribbon cables.

  17. xAaSdDYXtP4oXDdD
    • While holding the shutter button in place, remove the two 4mm JIS #000 screws from the base.

  18. gBFTd5qcLgpAFHaN
    • Remove the plastic base of the shutter button using tweezers by pulling it straight upward.

  19. kExUDTOYqS1xUP1U
    • Remove the shutter button by pulling it out from the bottom side of the top cover.

Заключение

To reassemble your device, follow these instructions in reverse order.

Rachel Llewellyn

Участник c: 23/02/18

509 Репутация

0 комментариев