Введение

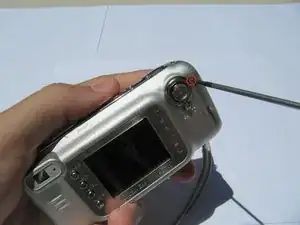
How to replace an unusable or damaged button on your Kodak EasyShare LS743. Be sure to remove the battery from your camera prior to starting this repair.

Инструменты

  1. Ni6JlVp1aLMnPQuV
    • Using your fingernail, open the battery cover.

  2. NwiQNSaVPReuMs2k
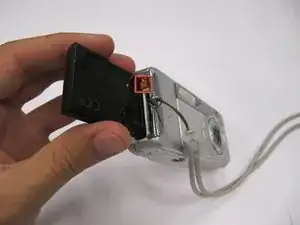
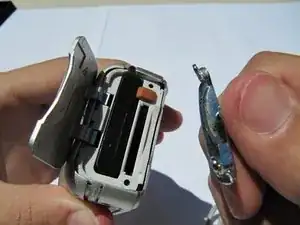
    • Slide the orange latch sideways to eject the battery.

    • Remove the battery from the battery slot.

  3. R46BgCJdYk3RN55W
    R46BgCJdYk3RN55W
    C21EIbT4aZPVpFqx
    PLLROZREuZmMOCGV
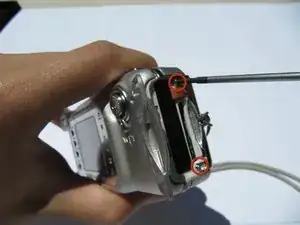
    • Using a Phillips #00 screwdriver, remove two 5.39 mm screws next to the battery slot.

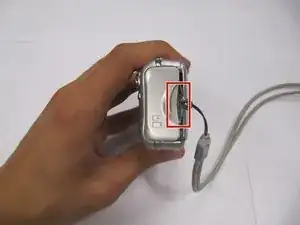
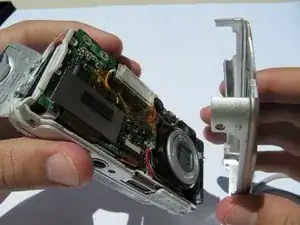
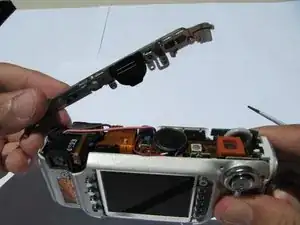
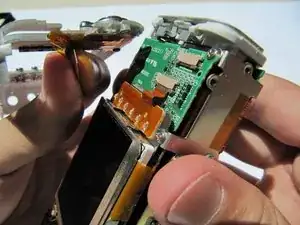
    • Remove the metal piece holding down the lanyard, then remove the lanyard.

  4. UPuqeIJGECEwkcWA
    UPuqeIJGECEwkcWA
    PIfdfT3cyoVNpljQ
    4eGPUrasjKqUKq5l
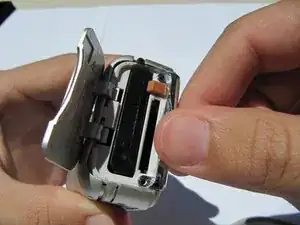
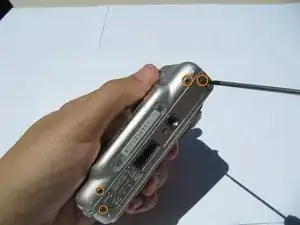
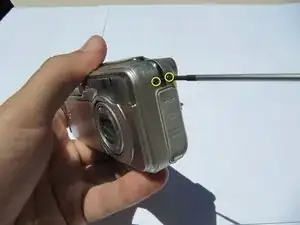
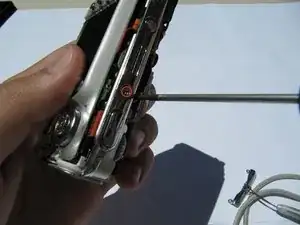
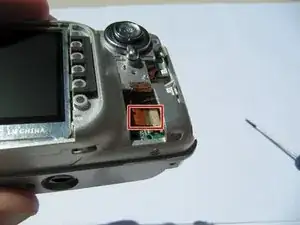
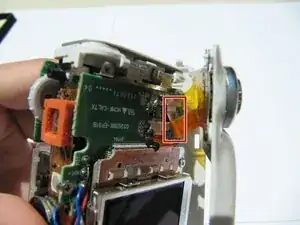
    • Using a Phillips #00 screwdriver, remove seven screws located on the outside case of the camera.

    • One 6.25 mm screw is located on the top right corner, right to the "OK" button.

    • Four 4.45 mm screws are on the bottom of the camera.

    • Two 2.95 mm screws are on the left side of the camera, above the USB port.

  5. hxVUirV5j6kUioff
    hxVUirV5j6kUioff
    pp2qrHQYZBTFbBmB
    • Carefully remove the rear camera casing.

    • Carefully remove the front camera casing.

  6. pNKfQigsiYVSKXDZ
    pNKfQigsiYVSKXDZ
    XKWACNmV5TGd2gAr
    • Remove the top panel screw (1x 4.37mm).

  7. MHKpSKJkGnpejAdx
    MHKpSKJkGnpejAdx
    RwKFynswoRjSGhlO
    • Remove the top panel.

  8. 4ObOIipdtVDeMLWO
    4ObOIipdtVDeMLWO
    KbFHa5Fe2oZ2JGy2
    • Remove the back panel screws (1x 3.33mm, and 1x 3.40mm).

  9. uhFiTGpkSkJV1jVJ
    uhFiTGpkSkJV1jVJ
    CbmWoqZpypTvCNCT
    JHG1M3kjTZM2vOir
    • Separate the inner casing from the tripod mount.

  10. j5bFOBu6sSZxTQns
    j5bFOBu6sSZxTQns
    UgHNEW3u5jBZZ6Pn
    3MAdF3Q6oroYkNE6
    • Gently pull the orange tab out of the circuit board.

  11. ZCM1ovKHGwOOaEyZ
    ZCM1ovKHGwOOaEyZ
    yaT5xBHVnjKuary2
    • Carefully separate and flip over the LCD panel to expose the central circuit board.

  12. WZfw3Fj62RYhW3cM
    • Remove the (1x 3.33mm) screw from the menu button panel .

  13. rKee3eWJRYwr3WLI
    rKee3eWJRYwr3WLI
    Jkku4aj2dNjSLDQH
    • Pull the second orange tab from the circuit board and remove the buttons.

Заключение

To reassemble your device, follow these instructions in reverse order.

Michael

Участник c: 24/06/10

63 Репутация

0 комментариев