Введение
Инструменты
-
-
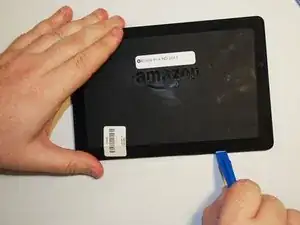
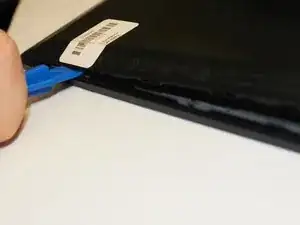
Open up the device by using a plastic opening tool in order to avoid damaging the device.
-
To do so, find the seam along the outer edge of the device and use the plastic tool to pry the back panel up. Doing so may take some force and patience.
-
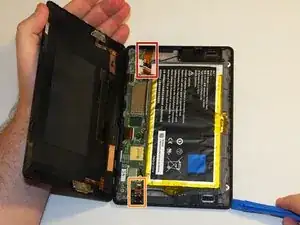
The USB port is located at the top of the device.
-
The Aux port is located at the bottom of the device.
-
-
-
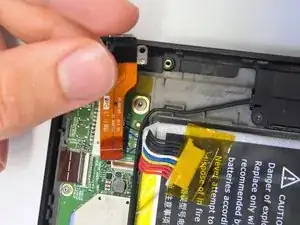
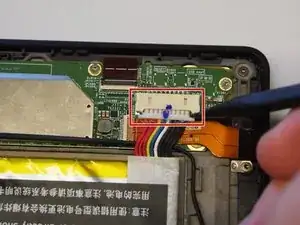
Locate the battery's power ribbon.
-
Use a nylon spudger to disconnect the ribbon from the motherboard.
-
-
-
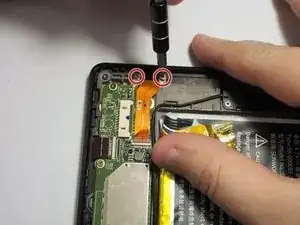
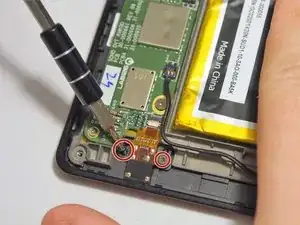
After removing the screws, follow the ribbon to where it connects to the main device.
-
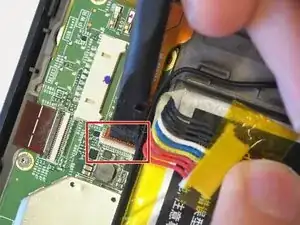
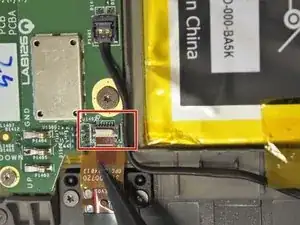
There is a small tab here that must be lifted up in order to allow the ribbon to be removed without damaging it.
-
Once the tab has been opened, gently pull the ribbon out and away. The USB port should now be detached completely.
-
-
-
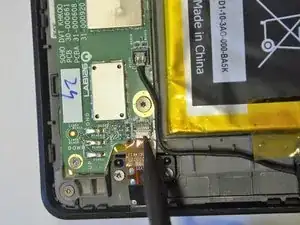
After removing the screws, follow the ribbon to where it connects to the main device.
-
There is a tab here that must be opened before the part can be removed. Use the nylon spudger or a finger nail to lift the tab open.
-
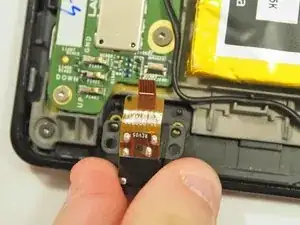
Once the tab is open, gently remove the ribbon. The Aux port should now be detached completely.
-


To reassemble your device, follow these instructions in reverse order.