Введение

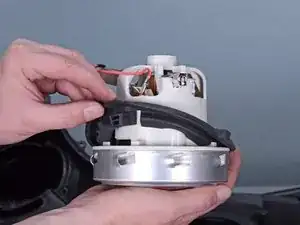
This guide shows how to remove and replace the vacuum motor/turbine for the Karcher Rotary Floor Cleaner 17833080 2017.

  1. cvdMERNHLdUGDK3b
    cvdMERNHLdUGDK3b
    StNjh5BI2IvnEQgF
    • Before you begin, make sure to power off and unplug the device.

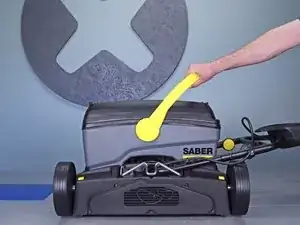
    • Lift the tank by the handle and remove it from the device.

  2. jBy4DhMReckHQHZh
    jBy4DhMReckHQHZh
    Hnij1DGCDlHW4sWX
    2LQL2UnDUNjrlHnq
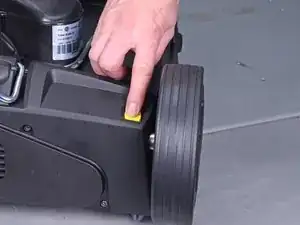
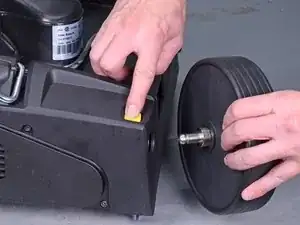
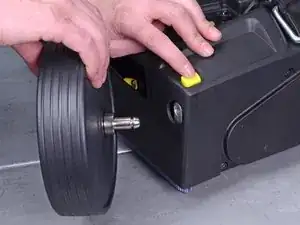
    • Press the yellow button near each wheel base to release the wheels.

    • Remove both wheels from their sockets.

  3. IYb1ZxJGGNdsuakj
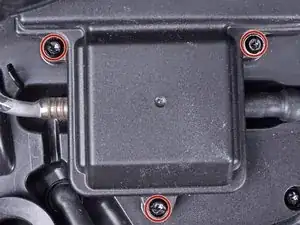
    • Use a T20 driver to remove the three screws securing the pump cover.

  4. NZ5EyFkomPZKLavV
    NZ5EyFkomPZKLavV
    OdPYSm3UEYqN5aHp
    fivHaIJQuYuAlWa5
    • Remove the pump cover.

  5. Lh2dOXITBv3cLbZj
    Lh2dOXITBv3cLbZj
    AliCXjXZuJCxpuOZ
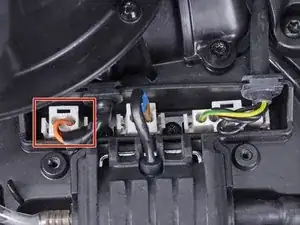
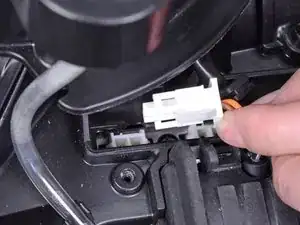
    • Squeeze the left plug by the edges and pull it out of its socket.

    • During reassembly, make sure that all plugs are firmly seated in their sockets.

  6. f2WGVZPrwjWKAhOJ
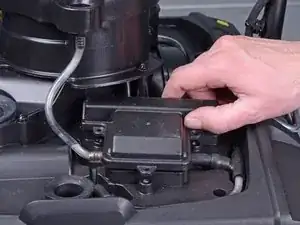
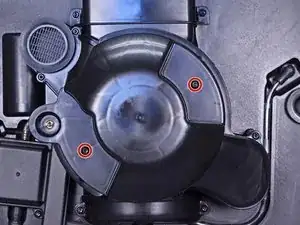
    • Use a T20 driver to remove the two screws securing the vacuum cover.

  7. vUuD4OQRQO2PwHoB
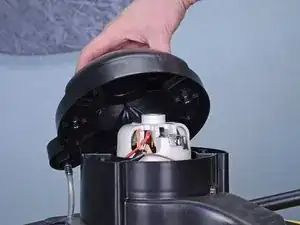
    • Remove the vacuum cover.

  8. 2VIx11RJI5JkwU11
    2VIx11RJI5JkwU11
    AXg2JwaucOoUaGBl
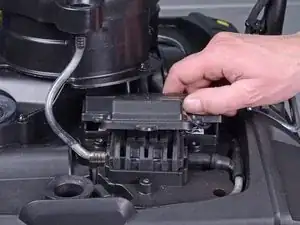
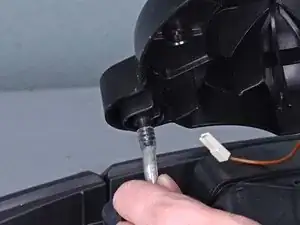
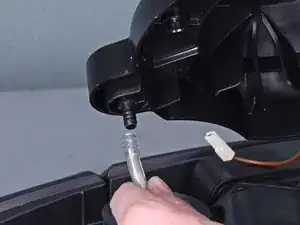
    • Pull the clear hose off the vacuum cover.

  9. egID6ox2YE32VeNt
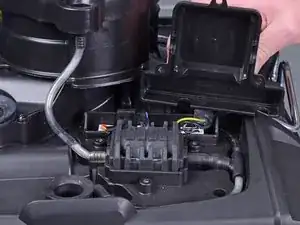
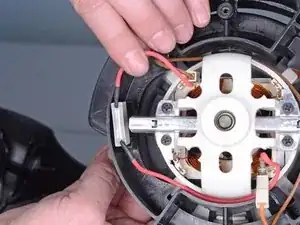
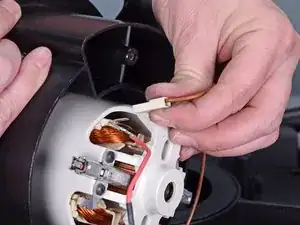
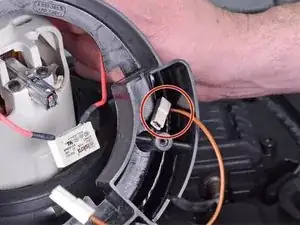
    • Reassembly tip: Use this photo as a reference on how to route the motor wires in the vacuum housing.

  10. xvYQurU1HWCWPTf3
    xvYQurU1HWCWPTf3
    rFDfZYsfWSNj41Rv
    UwYYRrVlgKu3VdMO
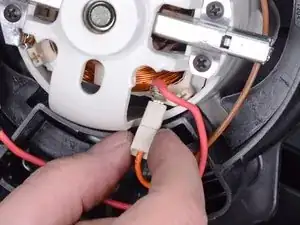
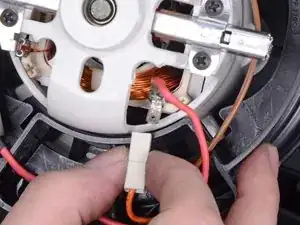
    • Disconnect the two motor wires by pulling the plugs off their spade sockets.

  11. VfgjmOAFbmMI6y6a
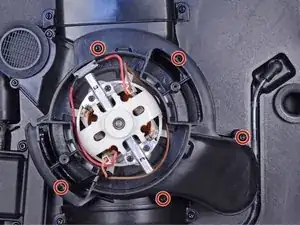
    • Use a T20 driver to remove the five screws securing the vacuum housing.

    Remove five screws not four.

    STEVE -

    Thanks for the comment! I think I corrected it. If I didn’t, please leave a message.

    Arthur Shi -

  12. XKRavOELNl5qHkhA
    XKRavOELNl5qHkhA
    nUHgRd1oeQD3rwZn
    KICk6w54ZTX43Ts5
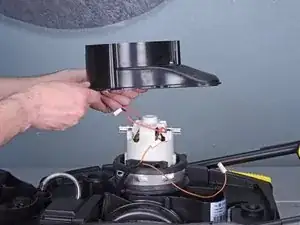
    • Lift the vacuum housing to remove it.

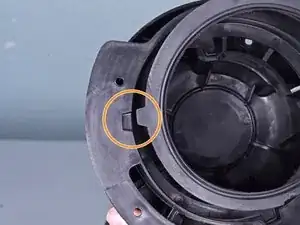
    • Reassembly tip: During reassembly, be sure to thread the motor wires through cutout on the side of the vacuum housing.

    • Reassembly tip: Be sure to properly align the vacuum housing to the rubber motor seal.

  13. H1EljxPBsBvjoSLr
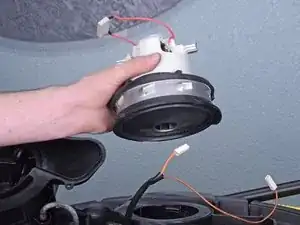
    • Lift the vacuum motor from the device to remove it.

  14. OBtBaZAvYrsklfA5
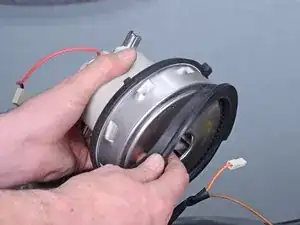
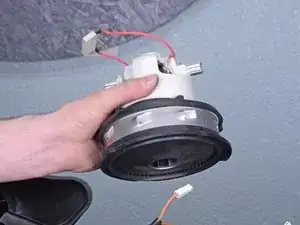
    • Peel the lower rubber seal from the motor and transfer it to the replacement part.

  15. DdKZkkVEISXB4aCF
    DdKZkkVEISXB4aCF
    SCktNhWUfL1ENKSP
    • Peel the upper rubber seal from the motor and transfer it to the replacement part.

    • The upper seal is keyed to the motor. Be sure to properly align it during assembly.

Заключение

To reassemble your device, follow these instructions in reverse order.
Arthur Shi

Участник c: 03/01/18

287466 Репутация

0 комментариев