Введение

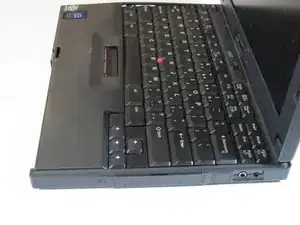
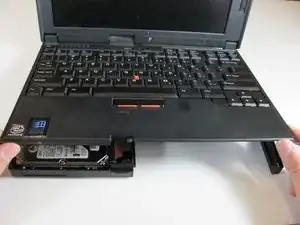
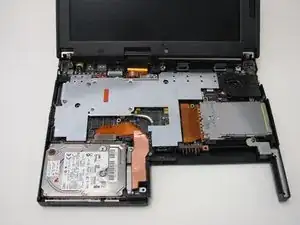
How to remove the keyboard for repair or replacement on the IBM ThinkPad 560z.

  1. VLkFL2UfT6Avn6wX
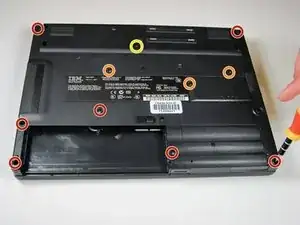
    • Remove the 7 mm Phillips #0 screws.

    • Remove the 10 mm Phillips #0 screws.

    • Remove the 14 mm Phillips #0 screw.

  2. YQ3s3lITJaXxSCNf
    YQ3s3lITJaXxSCNf
    usAFDpMjSYxJoFyN
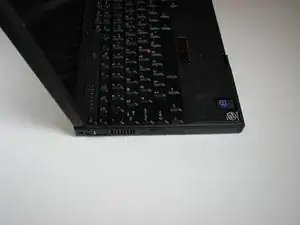
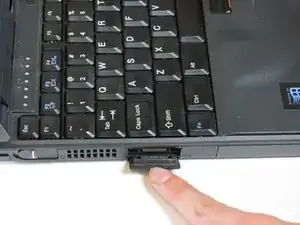
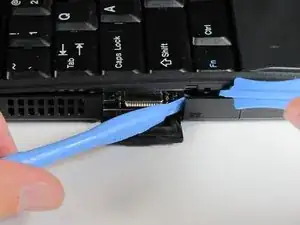
    • Open the flap on the left hand side.

  3. KdhnFNUWxMDIFbht
    KdhnFNUWxMDIFbht
    RBfWQgDyMXEGKqN1
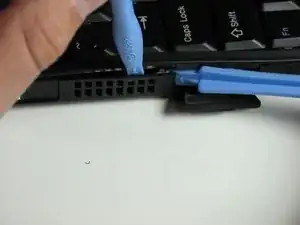
    • Insert the plastic opening tools between the right and left sides of the latch.

    • Pry the right side of the latch, and then pry the left side to detach the laptop's cover.

  4. ZVfWmXFW1bjZeXmj
    ZVfWmXFW1bjZeXmj
    qXOgpy1FtrImEMkr
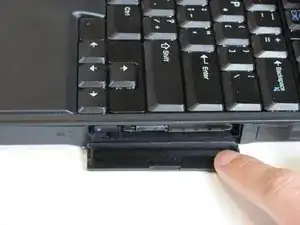
    • Open the flap on the right side.

  5. YZb4nrmyEiOPCkvT
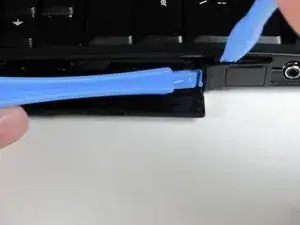
    • Insert the plastic opening tools towards the right side of the latch.

    • Gently pry the right side out to release the top cover.

  6. v6xk3s11FGIGoEuL
    v6xk3s11FGIGoEuL
    4rssWmqTTQafTdhg
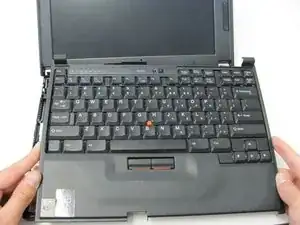
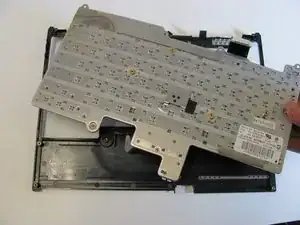
    • Lift the keyboard slowly.

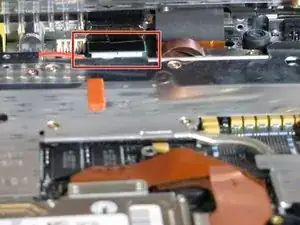
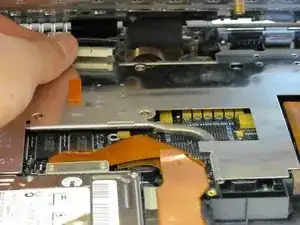
    • A cable connects the keyboard to the motherboard. If you are not careful, you will damage the cable.

  7. Fsqs41ePJIKwPW1j
    • Use your fingers or a spudger to detach the connector.

  8. UyDXc35JRDNJVCjX
    UyDXc35JRDNJVCjX
    HCyNMETCC5vDRCiV
    • Carefully lift and remove the keyboard.

  9. E1eFsbarsksUPGBA
    E1eFsbarsksUPGBA
    gTaxjnkZv5oAy3IG
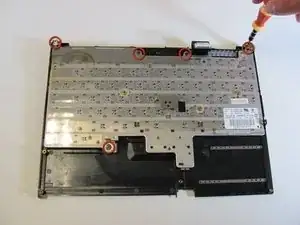
    • Remove the five Phillips screws from the underside of the keyboard, then gently lift it up.

Заключение

To reassemble your device, follow these instructions in reverse order.
Derek Driscoll

Участник c: 15/04/10

119 Репутация

0 комментариев