
Введение
This guide will replace the small rollers located under the ink carriage. Rollers enable the papers to run smoothly through the printer and cleanly print out material.
Инструменты
-
-
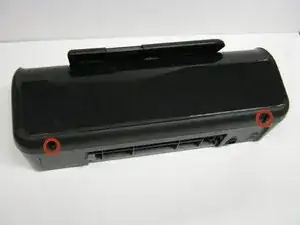
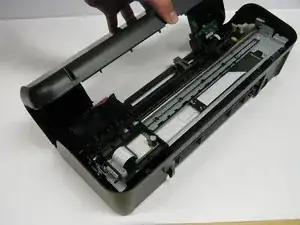
Lay the printer on its back.
-
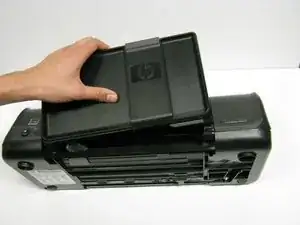
Grab the paper tray by its right side and pull it to the left and up.
-
-
-
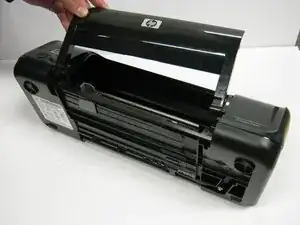
Open the frontal access panel by lifting it from the top.
-
Similar to the paper tray, grab it from the right side and pull it to the left and up.
-
-
-
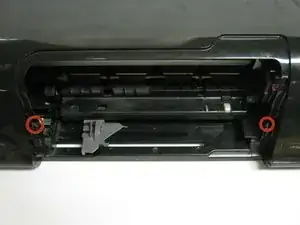
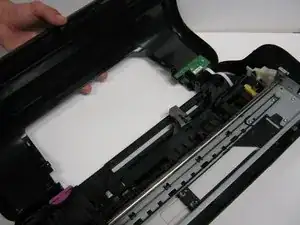
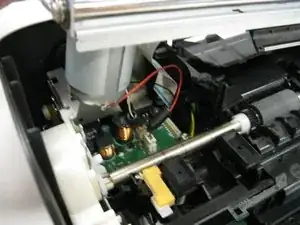
Remove the five 13.0 mm Torx #10 screws found on top of the frame.
-
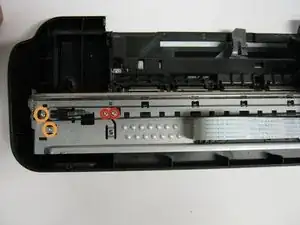
Remove the four 9.0 mm Torx #10 smaller screws.
-
-
-
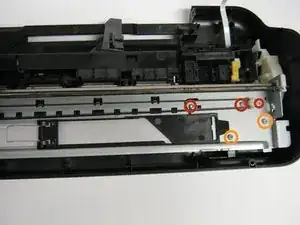
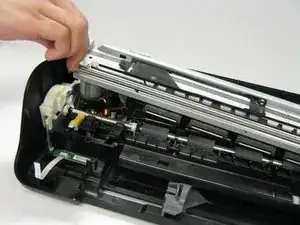
Locate the rollers, which will be on the bottom of the metal frame that holds the carriage.
-
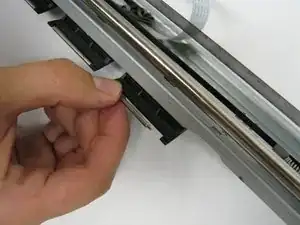
Grab the rollers and remove them by pulling them to one side and lifting them up.
-
Do the same for the other three.
-

To reassemble your device, follow these instructions in reverse order.