Введение

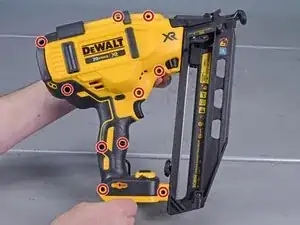
This guide shows how to remove the blade driver assembly for the Dewalt Nailers DCN660D1 2018.

  1. cVQdYFAkWBwF1jkU
    cVQdYFAkWBwF1jkU
    6QneiNayynNDJI4h
    6mAcC4BRgVw5VWPW
    • Before you begin the repair, remove the battery from the device.

  2. xanwoVYA3yXUIS1q
    • Use a T10 driver to remove the ten screws securing the outer housing.

    • Some of these screws are deeply recessed. You can use a flathead screwdriver to loosen these screws.

  3. pPK1kHoyNHSZcryX
    pPK1kHoyNHSZcryX
    WKpouGdaxZM16uGX
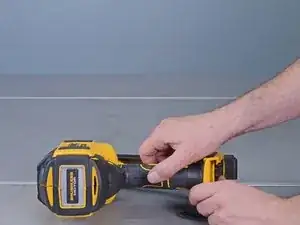
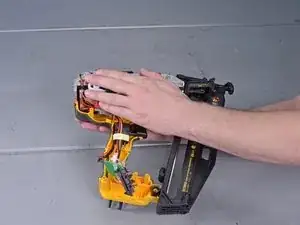
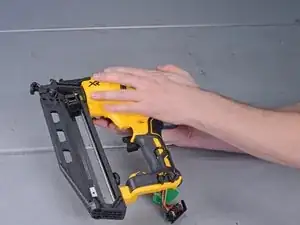
    • Lay the device on its left side (with the belt hook).

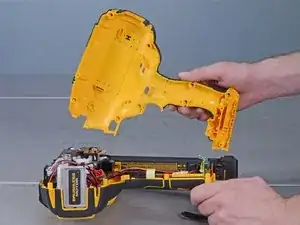
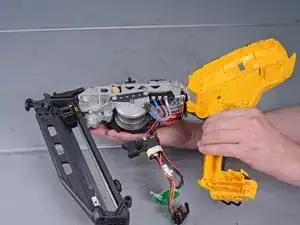
    • Lift and remove the right housing from the device.

  4. ilgumtWXBEb1MTZy
    ilgumtWXBEb1MTZy
    MpIKgohFKyFEBKym
    • Remove the lock button from its recess.

    • During reassembly, make sure that the button is properly seated and engages the trigger.

  5. ITIp5y2OLviCbtCj
    ITIp5y2OLviCbtCj
    AZCQdVguFhrkDGtb
    • Slide the battery connector out of its recess.

  6. xDFTvF323rMBYcdi
    xDFTvF323rMBYcdi
    PF4FIxtF3dbFaB1o
    xsVN3QjeDlQc4tUr
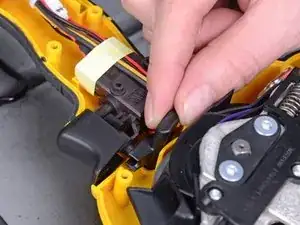
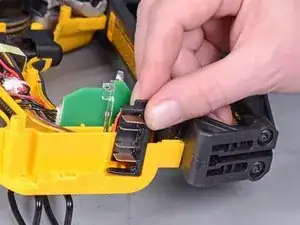
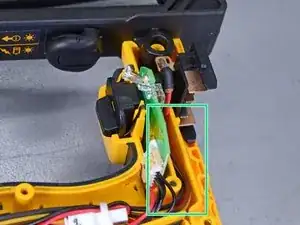
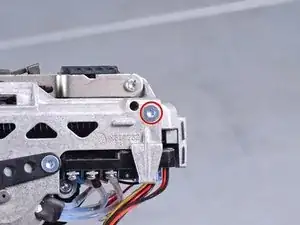
    • Remove the switch board from its housing recess.

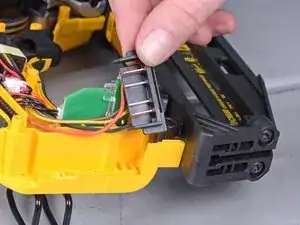
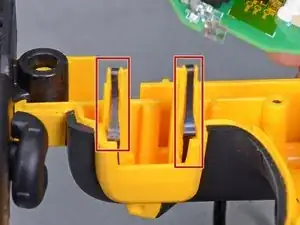
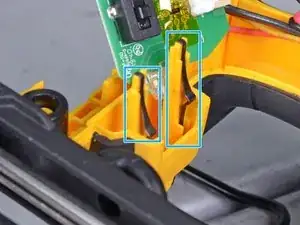
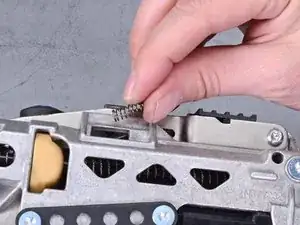
    • Remove the two spring clips from the housing.

  7. eerZjmL6YNFEAmWk
    eerZjmL6YNFEAmWk
    JjYkuheAwgUlF1OK
    hm5aiXQqw261U2Fr
    • During reassembly, use these photos to help you align all the loose parts back into the housing.

    • Be sure to route the wires through the yellow groove.

    • Be sure to reattach the spring clips.

  8. qXuB6BH4S2JhR6UC
    qXuB6BH4S2JhR6UC
    aIqFrgTlChlVObKW
    tnSbO4m2FODkyjmI
    • Carefully flip the device over.

    • Remove the left housing from the device.

  9. YxhIIZMtBktCKkF2
    YxhIIZMtBktCKkF2
    G2PY53ahpFcUSxto
    XxJhNEmbcHvveqSw
    • The spring under the release button has a tendency to fly out. Be careful not to lose the spring.

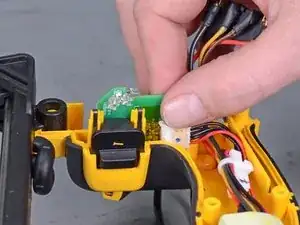
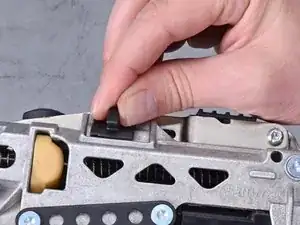
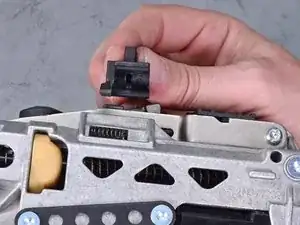
    • Carefully remove the release button from the device.

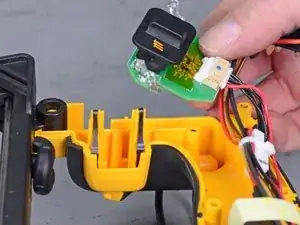
    • Remove the button spring from the device.

  10. lxPbXtKYYZk5XfKK
    lxPbXtKYYZk5XfKK
    Zu5CZUnIyuDaSyXN
    • Use a T25 driver to remove the two screws (one on either side) securing the back support .

  11. kNjEKA6k2jIabeWV
    kNjEKA6k2jIabeWV
    xlFJ4f514n66QWkt
    • Loosen the two solenoid wires from the back support.

  12. ZDDUQUBJKv5YL3pw
    ZDDUQUBJKv5YL3pw
    YTq1rEllj5ve6nEb
    • Pull the back support straight out of the device.

  13. UZPK1iDdmM3qSAO5
    UZPK1iDdmM3qSAO5
    SCimvYlrW6iFHnUk
    bQch5cobmRUOFCcw
    • Grasp the driver assembly by its back and pull it straight out of the device.

    • If you are having trouble pulling the driver assembly out, proceed to the next step.

  14. FCQZxy6e56bBrSEn
    FCQZxy6e56bBrSEn
    MqiH1BThhZZk4tKe
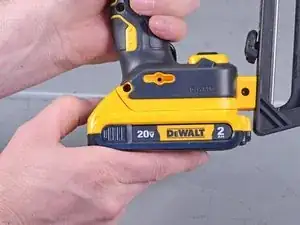
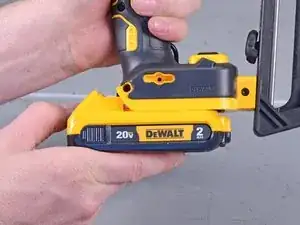
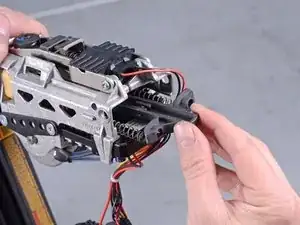
    • If you have trouble pulling the driver assembly out:

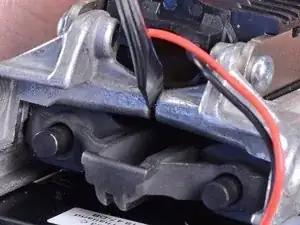
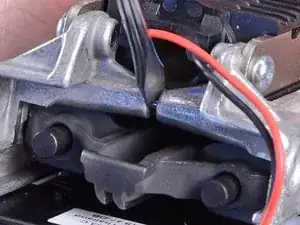
    • Insert a flathead screwdriver into the casing seam above the driver assembly.

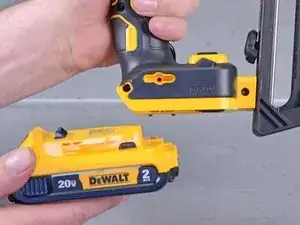
    • Slightly pry the housing apart to widen the space for the driver assembly to slide out.

Заключение

To reassemble your device, follow these instructions in reverse order.

Arthur Shi

Участник c: 03/01/18

287466 Репутация

0 комментариев