Введение

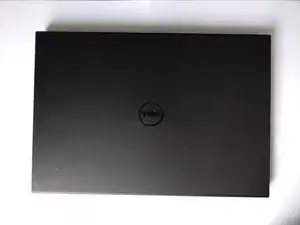
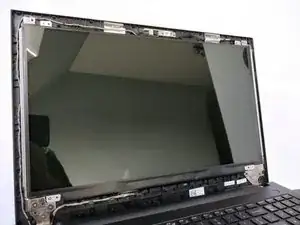
In this tutorial you will learn how to remove and replace the screen of a Dell Inspiron 3542

Always be careful with electronic devices!

  1. OgFuNhQKHknji5qJ
    OgFuNhQKHknji5qJ
    eykBjgtuHU2IseDH
    • Remove the battery by pushing both clips out.

    • Remove the power supply.

  2. SwEGUNJRSYbfAskH
    SwEGUNJRSYbfAskH
    lLT6AMIXkFbkTaMw
    • Use Jimmy or another opening tool to remove the screen bezel. Be careful not to damage the bezel.

  3. DoAJk6rRQVtQPeX6
    DoAJk6rRQVtQPeX6
    W1fZjrBUGoNME3KN
    • Loosen the marked screws.

  4. Rc3UJDvqtGvNIOXm
    • Remove the marked screws.

  5. 1ZHcYfycl1NARTdi
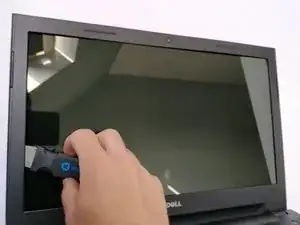
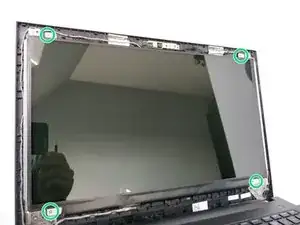
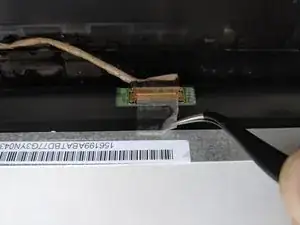
    • The screen can now be removed safely. You can put it screen down at your keyboard.

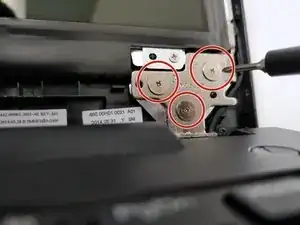
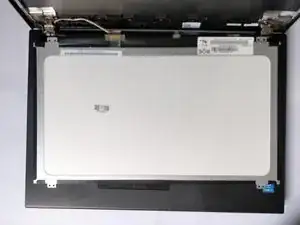
    • Be careful with the screen.

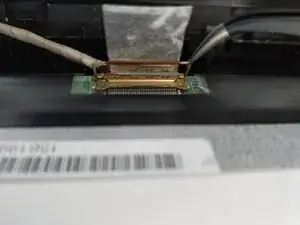
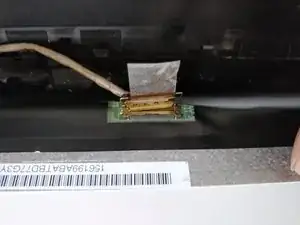
    • Be careful you don't break the cable connecting the screen.

  6. y3nVFkUVELHKEV2B
    y3nVFkUVELHKEV2B
    664P3h2AbBL2C51V
    McNH4bSqTVSD3Wt1
    • Remove the sticker holding the cable in place.

    • Use Tweezer to remove the safety holding the cable in place.

    • Use Spudger to remove the cable connecting the screen. Be careful whilst removing it.

Заключение

Grab your new screen and do all the steps in reverse order.

Ruben Debbaudt

Участник c: 05/06/18

279 Репутация

0 комментариев