Введение

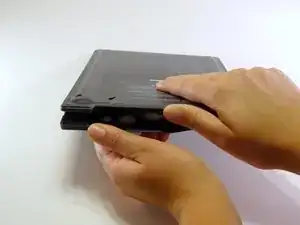
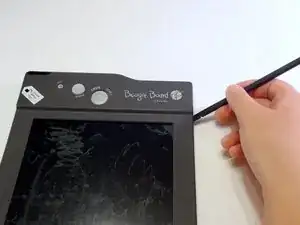
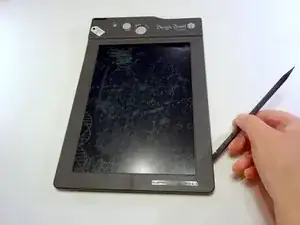
This guide will provide the steps to access the internal components including the motherboard where the copper button plates are located.

  1. IGOSIqhBjVVWxyOW
    IGOSIqhBjVVWxyOW
    ZACAHODDHUHBHFrP
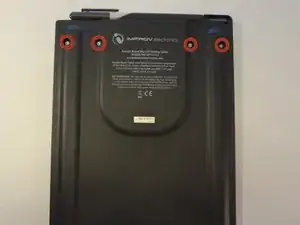
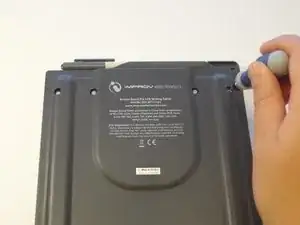
    • On the back of the device, remove the four 3/8" Torx head screws using the T-6 Torx bit.

    • A Torx bit is the piece that is inserted into a bit driver, also known as a screw driver.

  2. YhjVnEAcIioYALid
    YhjVnEAcIioYALid
    IojiVtToox14bva2
    QFHFZ5UQApxkLHO2
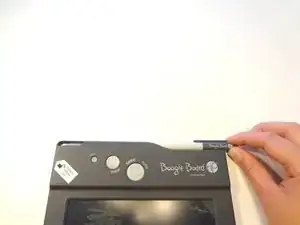
    • Remove the stylus if it is in the housing at the top of the device.

    • Turn the device so you are looking at it from the top down.

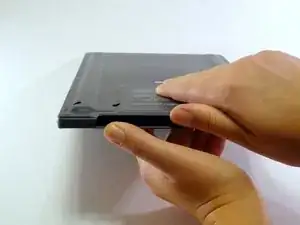
    • Using your thumbs on each wall of the stylus housing, open the frame of the device by gently pulling the two sides apart.

  3. IPV26RXFZEaQZ2hY
    IPV26RXFZEaQZ2hY
    sEDShklRsghcRvYs
    ot6OyQ1oEoF65sxY
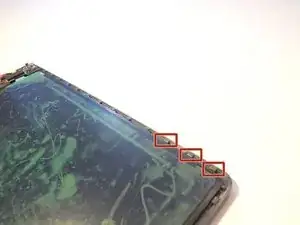
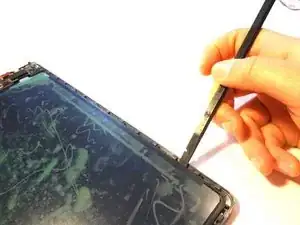
    • Insert a spudger into the seam between the front and back plates of the frame. Unsnap the snaps around the entire frame of the device.

    • Remove the front face plate by pulling it straight up.

    • The unlock switch on the device's side might come off while undoing the internal snaps or removing the face plate. This is perfectly normal.

  4. wFTNRwic15J1InlW
    wFTNRwic15J1InlW
    jyVSjuaQQUfMLRHU
    • Use a spudger (or gently bend the back plate of the device) to unsnap the snaps holding the screen in place.

  5. vRvh6fGxXtCHEtkr
    vRvh6fGxXtCHEtkr
    XAcxpOZcXIbVUIKa
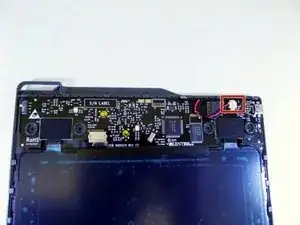
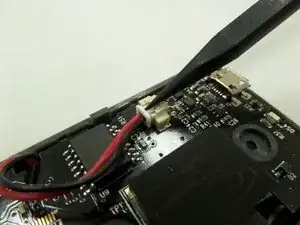
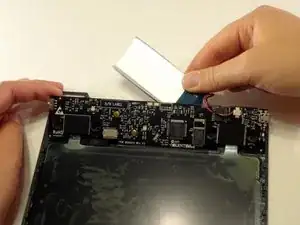
    • With a spudger, press against the lip of the connector closest to the wires to remove the battery connector from the motherboard.

  6. 2PZfhgq21ocPUlQl
    2PZfhgq21ocPUlQl
    1Th3wYwVIDmmy3wk
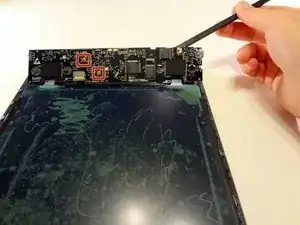
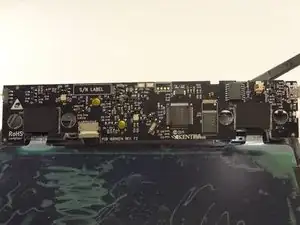
    • Gently lift the motherboard with a spudger or small object by inserting it in the seam between the back frame and the motherboard.

    • Remove the battery hidden behind the motherboard.

    It's a lipo 3.7v 830mAh battery, sn pl383172a 311454101663. It's about 75x35x4 mm. I can't find a replacement anywhere… links to the part would be helpful!

    francis -

  7. VEdwVZCDAlMDCjJg
    VEdwVZCDAlMDCjJg
    CMFpBmvOBmCTMAPR
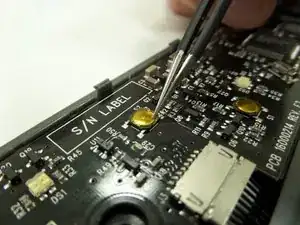
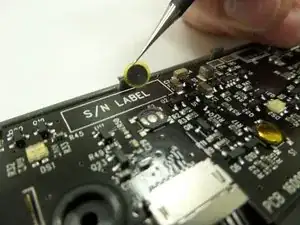
    • Using tweezers gently go around the edges of the copper plate to remove the adhesive.

  8. xRdssZRTdEGeFoIa
    xRdssZRTdEGeFoIa
    bnd5VVLVGRnUw1ZB
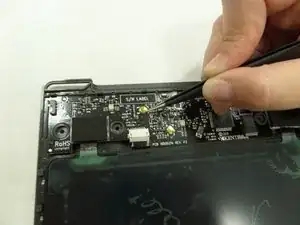
    • Use tweezers to grip the outer edge of the copper plate and lift the button straight off.

Заключение

To reassemble your device, follow these instructions in reverse order.
Gareth

Участник c: 10/09/14

360 Репутация

0 комментариев