Введение

  1. RbNuXeDABlsAdISL
    RbNuXeDABlsAdISL
    IyU4QwqntHQGD4I1
    • Remove the magnetic ear pads by gently pulling up away from the head set.

  2. Z5OKJlSUPGrKWcQk
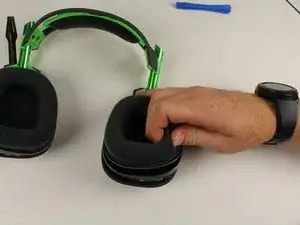
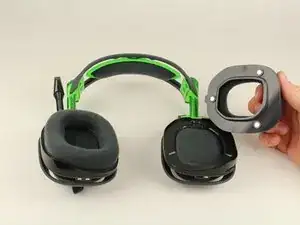
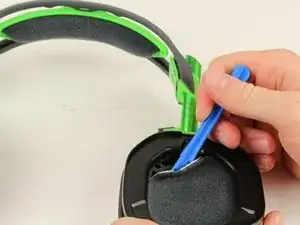
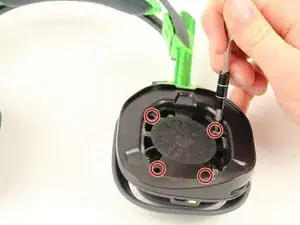
    • Squeeze the plastic opening tool between the black plastic and foam pad on non mic side and then pry upwards to remove the felt pads covering the speaker.

  3. 2oXyLOMMI1TMZpaR
    • Remove the four 6mm Phillips 1 screws.

  4. ymOPamwCSfOoibgU
    • Lift the speaker module up off the device.

  5. UUtVnRUdOAmbNmoB
    • Remove the four 6mm Phillips 1 screws.

  6. 2aTnM6KRoYKdmV12
    2aTnM6KRoYKdmV12
    56uXkfBDlqCnGhJ6
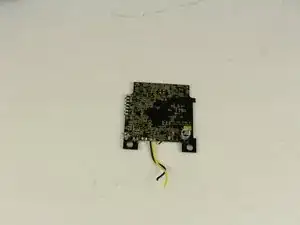
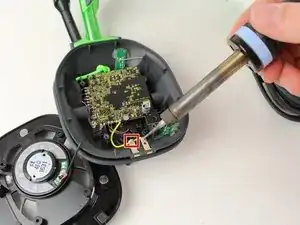
    • Use a soldering iron to desolder the black and yellow wires from the two metal plates near the bottom of the device.

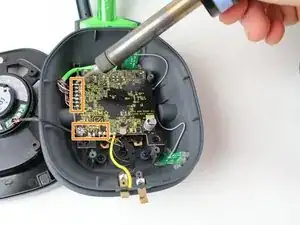
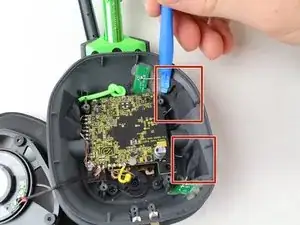
    • Use a soldering iron to desolder the 13 wires in rows along the left and bottom sides of the headset motherboard.

    • How To Solder and Desolder Connections

  7. cE5Nh2UfNQVGnEx4
    • Use the plastic opening tool to pry off the black tape covering the gray wires

    Thank god I have been looking for this one for a while thank you guys.

    i have i problem with my microphone see in step 7 there are two wires for the microphone ( green and copper color)near the microphone screw, in my headset the copper one dose not connected with the green any idea how to connect them together?

    Yousef Abdulla -

  8. BgHPCRbfdH1icLhX
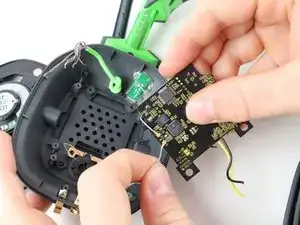
    • Lift the motherboard out of the headset and gently disconnect the gray wires from the motherboard.

Заключение

To reassemble your device, follow these instructions in reverse order.

Brian Menard

Участник c: 02/10/17

306 Репутация

2 комментариев

Any chance I could get the E250336. USB board part from you guys? I need one.

Theron Miller -

I am having a very tough time finding this Part online. Thanks!

Theron Miller -