Введение
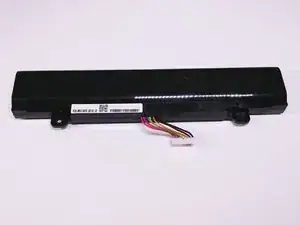
Acer Aspire V5-591G-75KE is manufactured with a 6-cell Lithium Ion (Li-Ion) 5040 mAh laptop battery. Batteries in laptops are very specific in their shape and capacity, so make sure you obtain a suitable replacement for the Acer Aspire V5-591G-75KE.
-
-
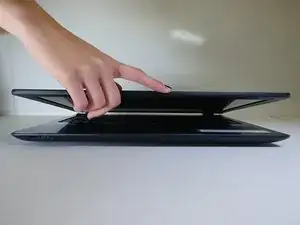
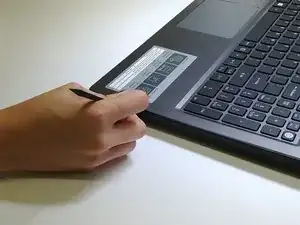
Close down the display and flip the device upside down.
-
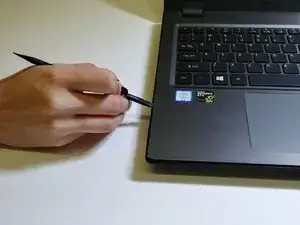
Use a Phillips #1 screwdriver to remove 18 black 10mm Phillips Head screws in order to loosen up the protective bottom casing.
-
-
-
With the screws removed, flip the device right-side up and open up the display.
-
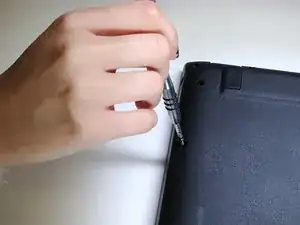
Run a plastic spudger tool along the seam of the face-plate in order to loosen up the protective bottom casing.
-
-
-
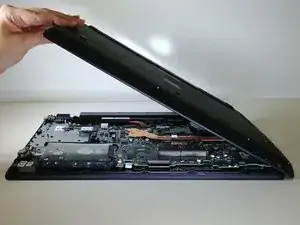
Close the display down once more, and flip the laptop upside down, with the hinge facing away from you.
-
Taking note of the small speaker wire, gently lift only the left side of the bottom casing.
-
-
-
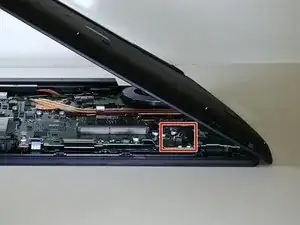
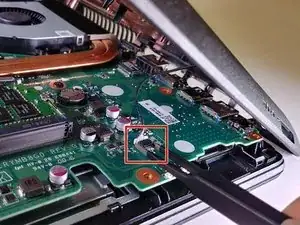
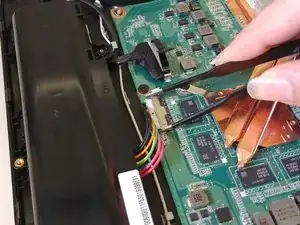
Using a pair of blunt tweezers, push on the tabs of the small white connector to separate it from the motherboard.
-
-
-
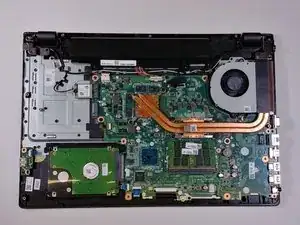
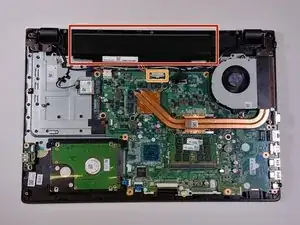
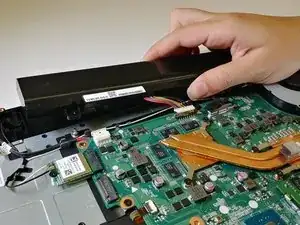
The laptop battery is the black rectangular item at the top.
-
The battery connects to the motherboard via a multi-colored 8-pin connector.
-
Using a pair of blunt tweezers, push the white tabs on the sides 8-pin connector to disconnect the battery from the motherboard.
-

To reassemble your device, follow these instructions in reverse order.